
Last updated November 16, 2026
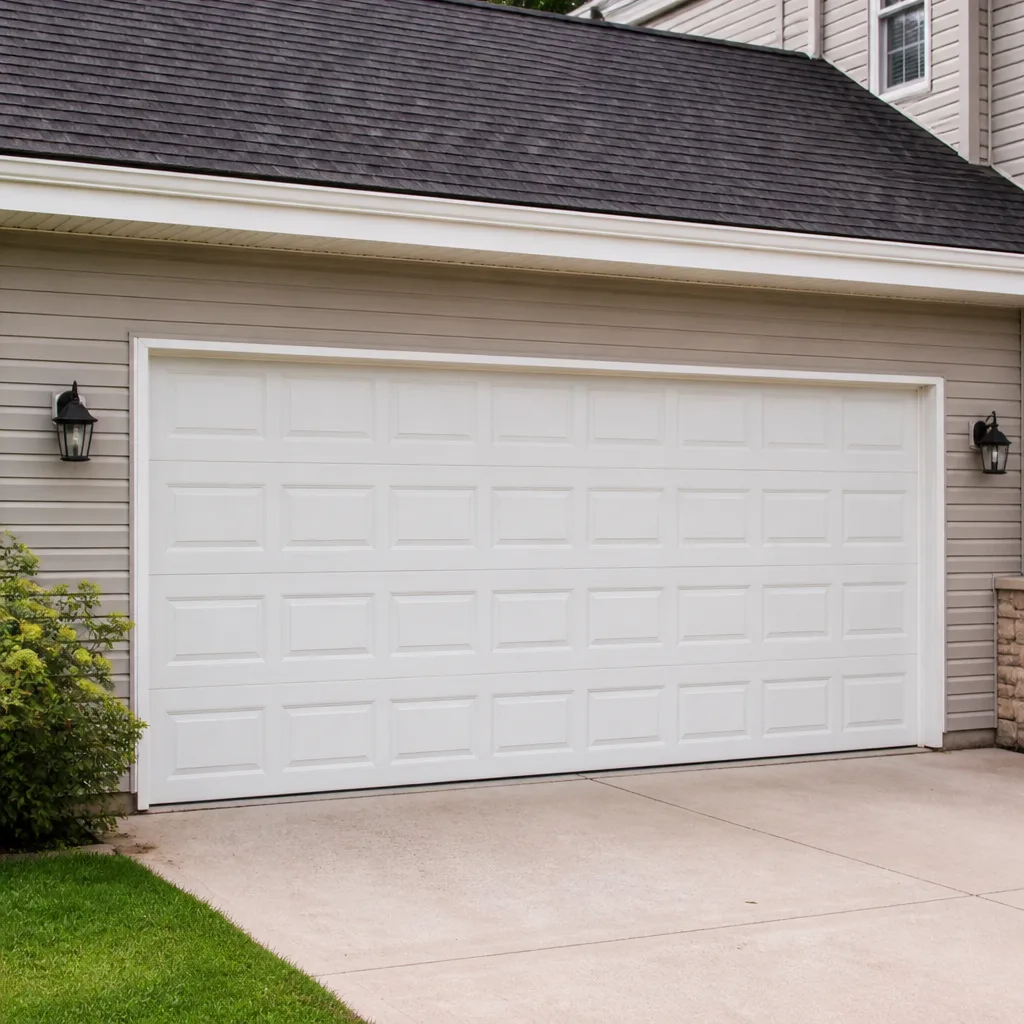 Raised-panel steel
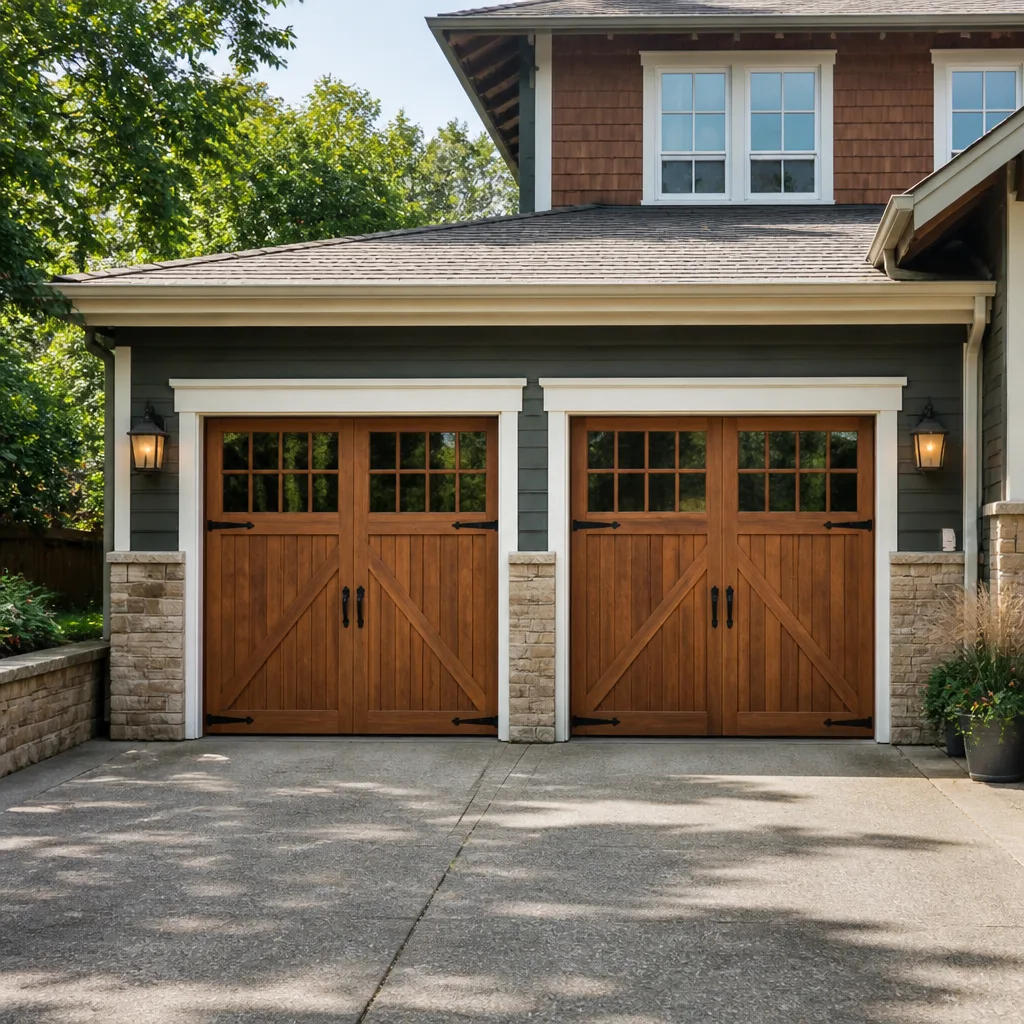 Carriage house
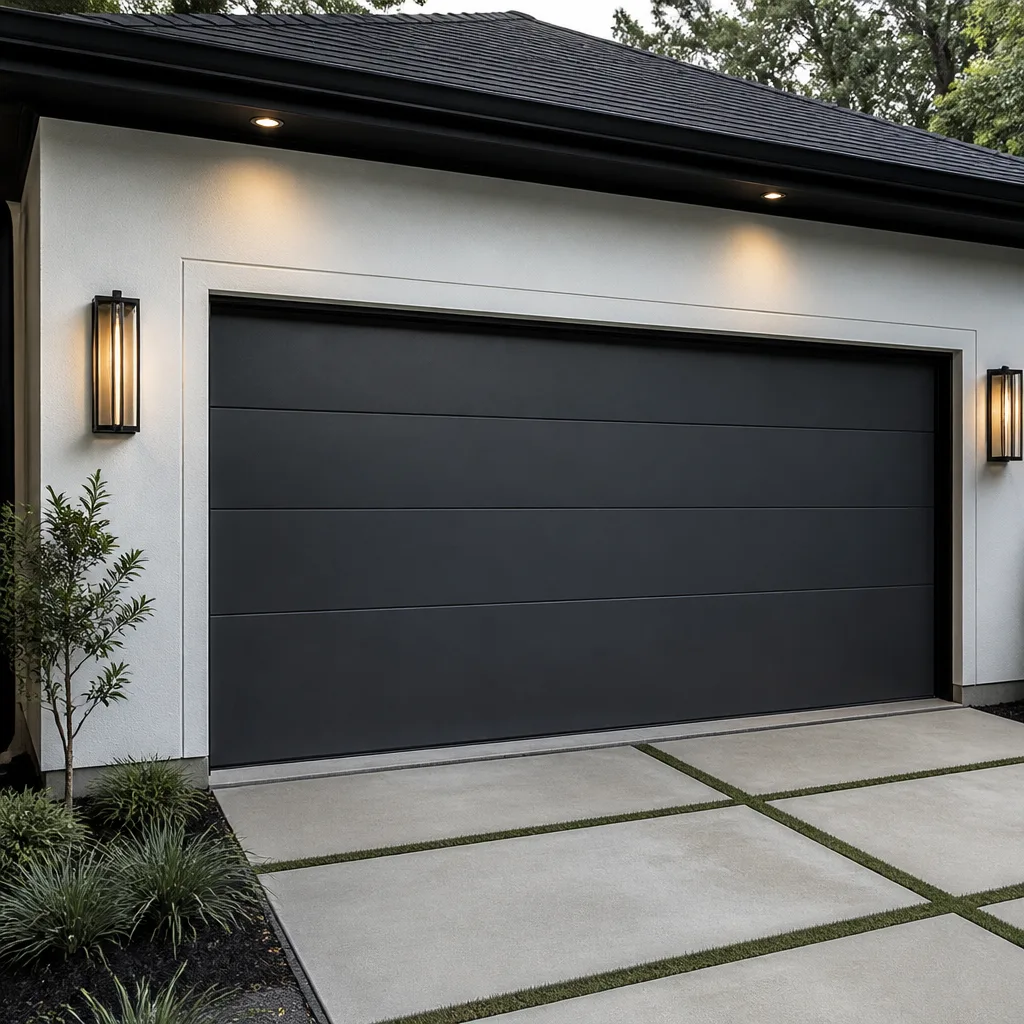 Modern flush
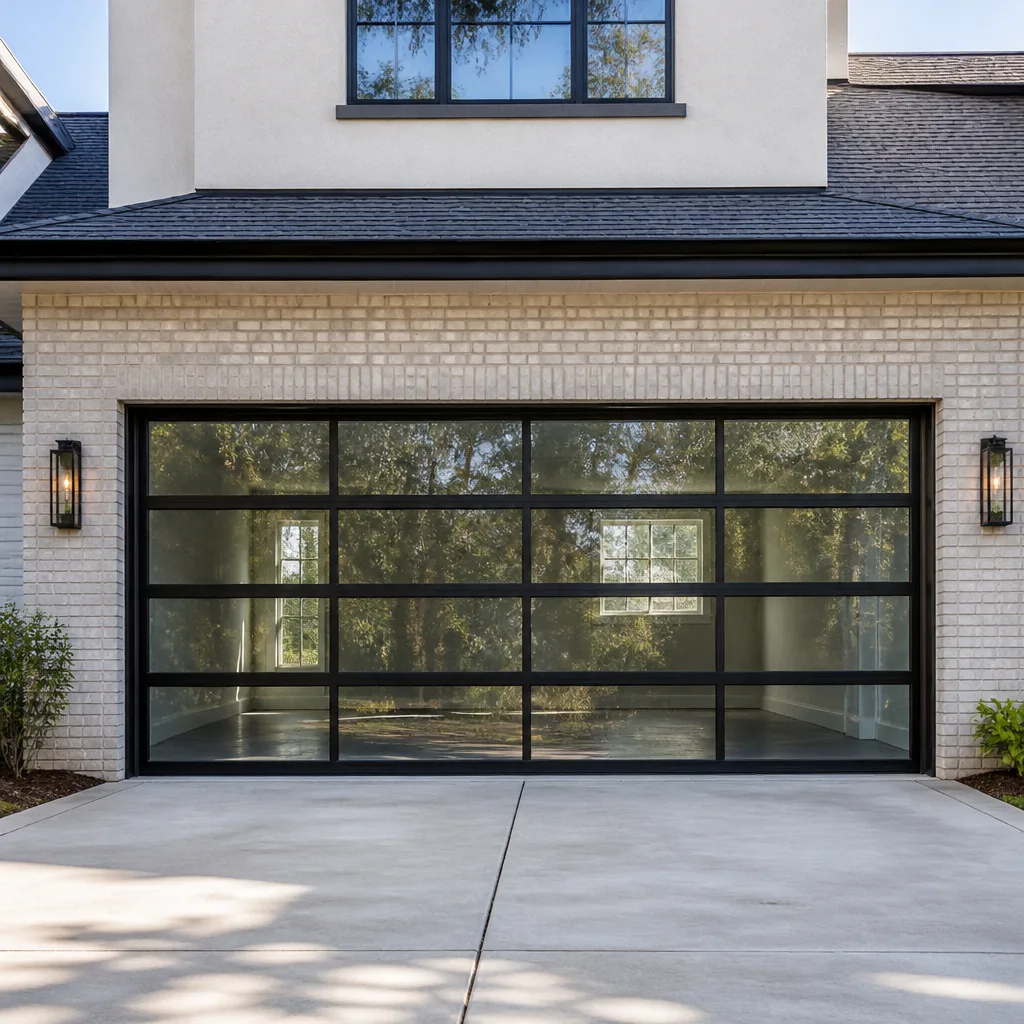 Full-view glass
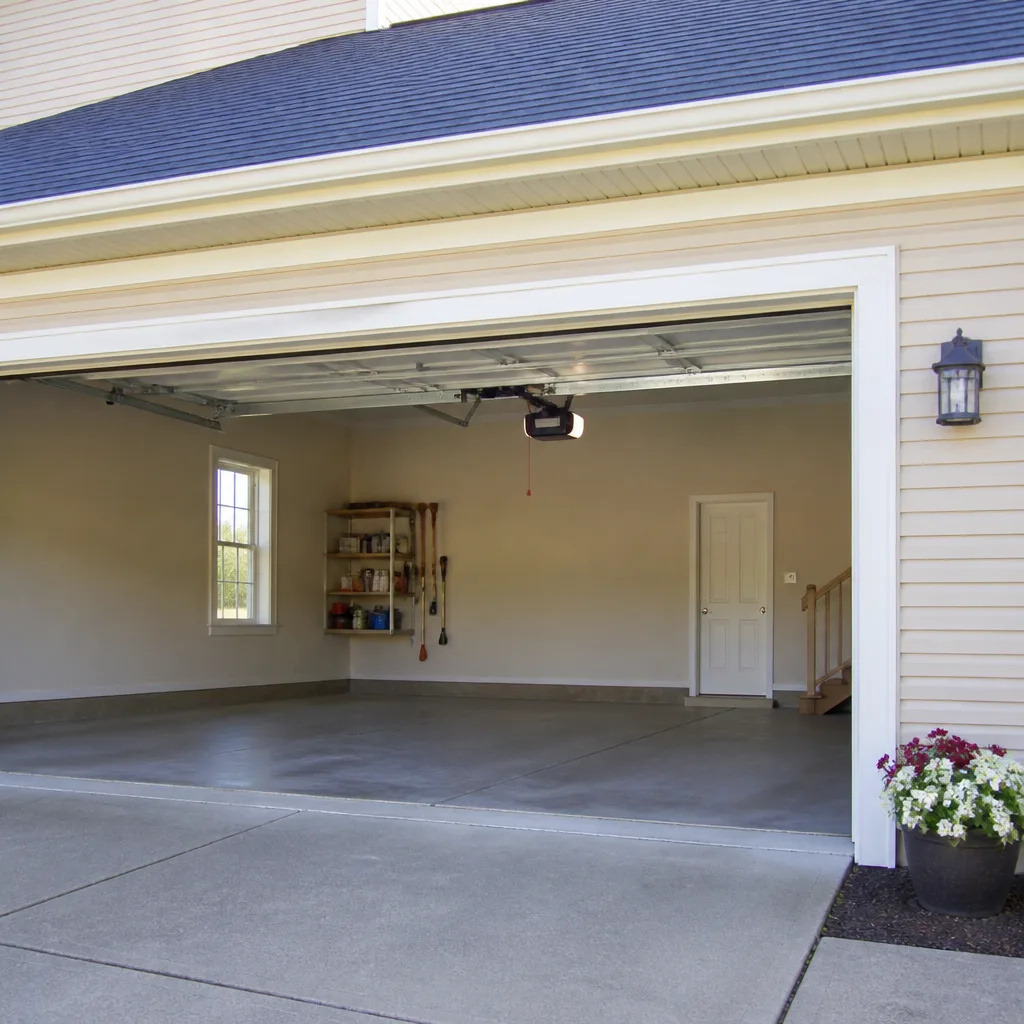 LiftMaster openers
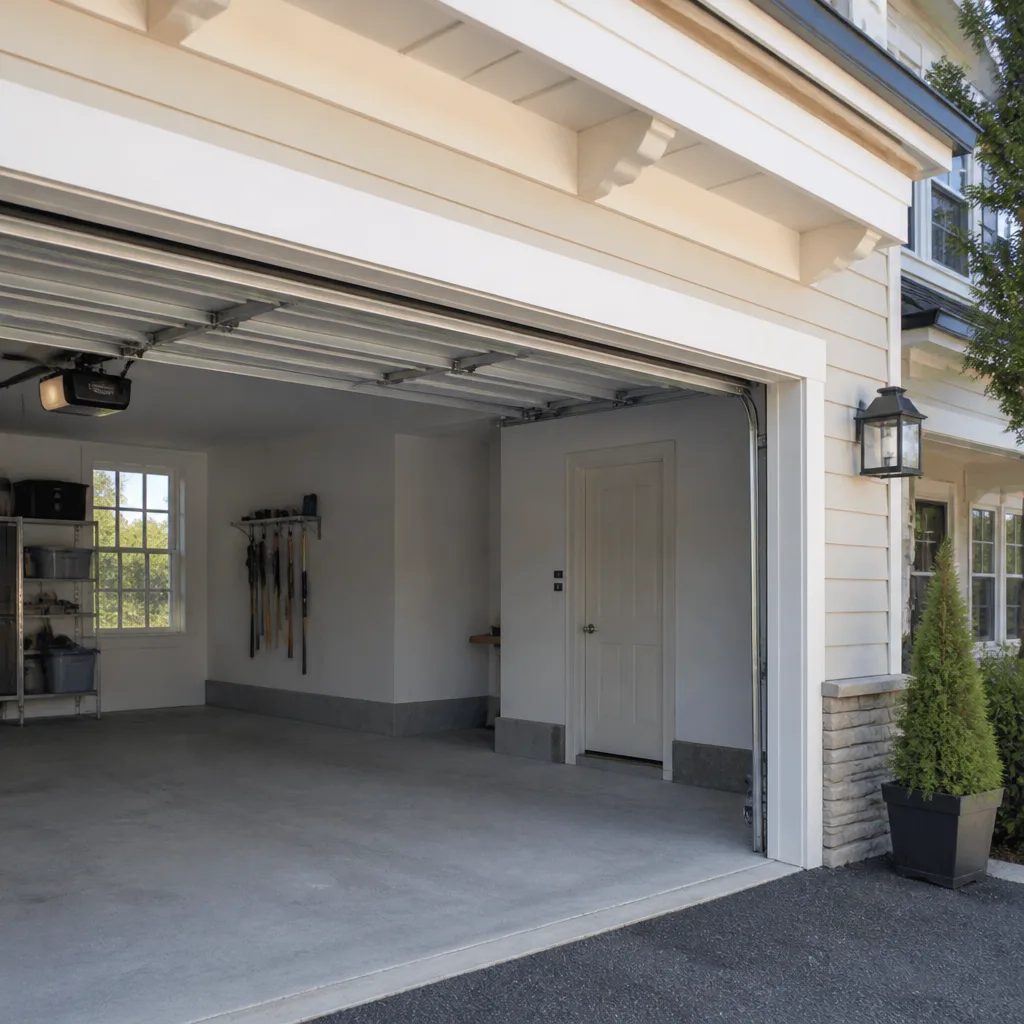 Chamberlain openers
Full 25-point door and opener safety check with every visit - springs, cables, rollers, tracks, and your LiftMaster or Chamberlain opener included
You get a price before we start. It does not change when the pro arrives.
Get your free estimateDIY vs Professional Garage Door: The Durham Homeowner’s Decision Guide
Most homeowners assume the DIY-or-professional question comes down to skill. It doesn’t. Torsion springs store enough energy to cause serious injury the instant they release, which is why garage door technicians have among the highest injury rates of any home service trade, even with the right tools and training. That single fact reshapes the whole decision. Some garage door jobs are genuinely owner-serviceable, and others carry consequences that no amount of video confidence can offset. In this guide, we walk through a task-by-task breakdown, the liability picture for a Durham homeowner, and the real cost comparison most people miss.
Styles & brands we work with
- Raised-panel steel
- Carriage house
- Modern flush
- Full-view glass
- LiftMaster openers
- Chamberlain openers
Quick Answer
Spring replacement, cable work, and track realignment should never be DIY, regardless of your skill level. Sensor cleaning, lubrication, and weather seal replacement are genuinely low-risk tasks most homeowners can handle. Everything in between depends on your tools, your comfort with electricity, and your willingness to accept the risk.
Table of Contents
- Why Garage Doors Aren’t Like Other DIY Projects
- The Task-by-Task Decision Matrix
- Jobs You Should Never DIY, Regardless of Skill
- Jobs That Are Genuinely DIY-Friendly
- The North Carolina Liability Picture
- What DIY-Friendly Opener Installation Actually Requires
- The Cost Comparison That Actually Matters
- Where Video Confidence Gets Homeowners Hurt
- Common Mistakes to Avoid
- When to Call a Professional
- Frequently Asked Questions
- The Bottom Line
Why Garage Doors Aren’t Like Other DIY Projects
A garage door looks like a simple machine. A panel slides up a track, a spring does the lifting, and an opener turns the whole thing on and off. That simplicity is deceptive, and it’s the reason we spend so much time talking homeowners out of jobs they were about to attempt. The system is under constant tension. That tension is what makes it work, and it’s what makes certain tasks dangerous in a way that painting a wall or patching drywall never will be.
Here’s the part most DIY guides skip: the injury risk isn’t hypothetical. A torsion spring under load holds enough stored force to break bones, cause lacerations, and in the worst cases, lead to fatalities. That’s not a scare tactic. It’s the physical reality of a component engineered to counterbalance a door that can weigh hundreds of pounds. We work on garage doors in Durham every day, and our technicians have up to 15 years of experience. Even with that background, they treat spring and cable work with unbroken focus. That should tell you something about the margin for error.
What homeowners often miss is that the danger isn’t only in the spring itself. It’s in the chain reaction. A cable that slips, a winding bar that kicks free, a track that shifts under load: each of these can turn a routine job into an injury in a fraction of a second. The other hidden variable is the door and opener brand. A Craftsman system from the 1990s and a modern LiftMaster Wi-Fi opener behave differently under load, and the wrong assumption about how yours is built can put you in a bad spot. When a homeowner calls us about a spring that won’t hold, the first question is always about the specific brand and model, because the answer changes the approach.
If your door is stuck and you’re deciding whether to tackle it yourself, the honest answer for spring, cable, and heavy track work is no. We’d rather tell you that than see you take on a repair that puts your safety on the line. Call us instead and we’ll get your door moving again.
The Task-by-Task Decision Matrix
Not every garage door job carries the same risk. Some are genuinely safe for a careful homeowner with basic tools. Others require professional hands, period. Here’s how the tasks break down.
| Task | DIY? | Why |
|---|---|---|
| Spring replacement (torsion or extension) | No | Stored energy can cause severe injury; wrong spring size damages the door |
| Cable replacement or adjustment | No | Cables are under extreme tension and can snap without warning |
| Track realignment or replacement | No | Misaligned tracks cause door failure and pinch points |
| Panel replacement (single damaged section) | Usually no | Panel weight and balance affect the whole system; proper sequencing matters |
| Roller replacement | Sometimes | Low tension, but the door must be fully supported during the swap |
| Lubrication (hinges, rollers, tracks) | Yes | No stored energy involved; low risk, high value |
| Safety sensor cleaning and alignment | Yes | Low voltage, low mechanical risk |
| Weather seal and bottom seal replacement | Yes | Simple removal and fitting; no tension components touched |
| Opener replacement | Depends | Requires ladder work, wiring knowledge, and correct rail assembly |
Durham homes vary widely. Older homes near downtown often have original wood-frame garage openings with older Craftsman or Genie openers, while newer construction out toward Research Triangle Park tends to feature modern steel doors paired with LiftMaster or Chamberlain smart openers. In both cases, the matrix above holds. The brand of your system only changes how the professional work is done. It doesn’t change which tasks belong in the danger column.
One more thing to note: the matrix isn’t a judgment on your ability. Some genuinely capable homeowners shouldn’t touch a torsion spring, and some who’ve never held a wrench can manage a weather seal just fine. The distinction is the stored energy and the consequence of failure, not your skill level.
Jobs You Should Never DIY, Regardless of Skill
Three categories of garage door work carry a real risk of serious injury and should only be handled by a trained professional. If you take one thing from this guide, make it this list.
- Torsion spring replacement. A torsion spring sits above the door and controls the full weight of the panels. It has to be unwound and rewound with specific tools and specific technique. If a winding bar slips or a spring releases prematurely, the force can be catastrophic. The correct spring size and wire gauge also depend on the door’s weight, which means eyeballing a replacement from a photo or a video gets you the wrong part and a door that won’t balance.
- Cable replacement and adjustment. Cables run the length of the door and connect the spring system to the bottom bracket. They’re under tension every second the door is closed. A cable that fails while you’re handling it can whip and strike with the force of a heavy metal whip. There’s no way to safely test a used cable’s integrity with DIY tools.
- Track realignment and bottom bracket work. Tracks and the bottom corner brackets are load-bearing components. Getting the track back in alignment requires understanding the door’s geometry, and any mistake puts the door at risk of coming off the track entirely. The bottom bracket, where the cable attaches, is one of the most dangerous points in the entire system.
We’re certified to work on eight major brands, including Clopay, Amarr, Wayne Dalton, and LiftMaster, and each of those systems has its own hardware design and spring configuration. That brand-level knowledge is what makes a professional repair faster and safer. When a homeowner in Durham calls with a broken spring, the technician who arrives knows the difference between an Amarr torsion system and a Wayne Dalton extension setup before the door is even opened.
If you’re facing any of these jobs, call us. We can work with your insurer if a repair relates to a covered event, and the written estimate sets the price before any work begins.
Jobs That Are Genuinely DIY-Friendly
We’re not here to tell you that every garage door task requires a professional. Some are legitimately within reach for a homeowner who takes their time and follows basic precautions. Here’s where we’d say go ahead, with a few caveats.
- Lubrication. Hinges, rollers, and the spring assembly benefit from a proper lubricant once or twice a year. It’s the single most effective maintenance task you can do yourself. Use a garage-door-specific lubricant, not WD-40 (which is a solvent, not a lubricant), and avoid spraying the tracks themselves. Clean the tracks instead.
- Safety sensor cleaning and alignment. If your door reverses for no obvious reason, the photo-eye sensors near the floor are usually the culprit. Wipe them clean, check that the LED indicator lights are on, and make sure they point at each other. If the sensor bracket is bent, you can usually straighten it by hand.
- Weather seal replacement. The rubber flap at the bottom of the door and the seals around the frame are simple to replace. They’re also the first line of defense against Durham’s humidity and the occasional heavy rain. A worn seal lets water and pests in; a new one takes about an hour.
- Visual inspections. Look at the springs for rust or gaps, check the cables for fraying, and listen for grinding or squealing when the door moves. You’re not fixing anything, but you’re catching small problems before they become expensive ones.
- Light bulb replacement in the opener. Straightforward, as long as you’re careful on the ladder and use the bulb type the opener specifies (many modern openers require specific bulbs to avoid interference with the remote).
The pattern is simple: if the task involves touching a component under tension, don’t do it. If it involves cleaning, lubricating, or replacing something with no stored energy, you’re fine. A weather seal or a set of lubricated rollers is a genuinely low-risk job. A spring is not.
The North Carolina Liability Picture
This is the part of the DIY conversation that rarely gets enough attention. When a garage door repair goes wrong and someone gets hurt, the consequences go beyond the injury itself. In North Carolina, a homeowner who performs their own repair and later has a failure that causes injury to a family member, a visitor, or a contractor can face liability exposure. That exposure is where homeowner’s insurance comes into play, and it’s where homeowners often discover a gap between what they assumed was covered and what their policy actually pays for.
Homeowner’s insurance generally covers accidental injury on your property, but the picture gets complicated when the injury results from work the homeowner performed themselves. Insurers look at whether the work was done to a reasonable standard, whether it was permitted if required, and whether the homeowner misrepresented the condition of the door. A failed DIY spring repair that leads to an injury can turn into a coverage dispute, which is a fight most people aren’t prepared for.
There’s also the resale angle. Durham has seen steady real estate activity, and a home inspection can flag a garage door that shows signs of amateur repair. An inspector who sees mismatched springs or a modified track may note it, and the buyer’s lender may require a professional inspection before closing. A repair done right the first time avoids those conversations.
We’re licensed and insured, and we’re happy to work with your insurer if a claim is involved. The point isn’t to sell you on a repair you don’t need. It’s to make sure that when a repair matters, it’s done in a way that protects you.
What DIY-Friendly Opener Installation Actually Requires
Opener installation is where the DIY vs professional line gets blurry. Some homeowners can absolutely handle a like-for-like replacement. Others hit a wall at the first step. Here’s an honest look at what the job involves.
- Tools. You’ll need a drill, a socket set, a ladder rated for the height of your ceiling, a tape measure, a level, and a screwdriver set. A torque wrench helps for the rail and mounting bolts, though many installations tolerate hand-tight plus a quarter turn.
- Electrical knowledge. Most openers plug into an existing outlet near the ceiling, so the wiring is done. But if you’re adding an outlet, moving one, or installing a model that requires a hardwired connection, you need an electrician, not a DIY tutorial. This is the step where a lot of homeowners realize the job is bigger than expected, and we’ve seen enough attic wiring in Durham to know it varies by home.
- Structural mounting. The opener has to hang from solid framing, not drywall. That means finding the joists, sometimes adding a mounting board, and getting the header bracket aligned so the rail runs straight to the door. A rail that’s off by even a fraction of an inch will cause the door to bind, and you’ll spend hours chasing the problem.
- Force and travel limits. Every opener needs the open and close force set correctly, and the travel limits adjusted. Modern LiftMaster and Chamberlain units do this automatically, but older Craftsman and Genie models require manual adjustment. Get it wrong and the door either won’t fully close or will reverse unpredictably.
- Safety reversal testing. After installation, the door has to pass the reversal test and the photo-eye test. If you can’t get the door to reverse properly on contact, the installation isn’t finished, no matter how good the rest of it looks.
Brand matters here more than most homeowners expect. A Clopay door paired with a Wayne Dalton opener may need specific hardware or a different mounting approach than an Amarr door with a LiftMaster. We work on all eight of the major brands, which means we can tell you exactly what your installation needs before the first hole is drilled. If you’re a landlord or property manager maintaining several units, that kind of certainty keeps the door in service and the tenants happy.
Installation is measured, ordered, and scheduled rather than same-day work. If you’re replacing an opener, we’ll come out, measure, and give you a written price. Call (844) 460-7528 to set it up.
The Cost Comparison That Actually Matters
The usual DIY-vs-professional math goes like this: a spring costs X, a professional costs Y, so do it yourself. That math leaves out the most expensive outcome, which is a botched DIY attempt followed by a professional repair. In our experience, the homeowner who tries the job first and calls us second pays more than the homeowner who called us first.
Here’s the picture in table form, with typical ranges for Durham. Every price is an estimate, and the written quote you receive sets the final number.
| Scenario | Typical path | What it includes |
|---|---|---|
| Professional repair from the start | Single visit | Diagnosis, correct part, installation, safety testing, and a written price before work begins |
| DIY attempt, then professional repair | Two visits plus a parts order | The original part cost, any door or hardware damage from the attempt, and the full professional repair on top of it |
| DIY attempt that ends in injury | Not a price conversation | Medical costs, insurance complication, and a door that still needs repair |
| Opener replacement done right | Scheduled install | Correct rail assembly, safe mounting, force-limit setup, reversal testing |
What drives the second-row cost up isn’t labor. It’s that a failed DIY attempt often damages things that would not have been damaged otherwise. A spring installed with the wrong winding can warp a track. A door raised on an unbalanced system can bend a panel. A snapped cable can score the whole length of a track and sometimes the door itself. By the time the homeowner calls us, the bill covers the original problem plus whatever the attempt added.
The math also shifts when you factor in time. A spring replacement done correctly is often a single visit. A DIY attempt that goes wrong eats a weekend, requires a return trip to the hardware store, and can leave the door inoperable in the meantime. If your car is stuck inside the garage, those lost hours have a cost too.
The bottom line is that the more accurate comparison is between a professional repair from the start and the professional repair plus the cost of the failed attempt. The difference rarely favors DIY for anything on the “never” list. Call (844) 460-7528 for a free estimate, and we’ll tell you plainly which side of the line your problem falls on.
Where Video Confidence Gets Homeowners Hurt
A well-made video can teach you a lot about how a garage door works. It can also give you a confidence that doesn’t match the reality of your specific system. We’ve seen the pattern repeatedly: a homeowner watches a spring replacement tutorial on a clean, well-lit demonstration door and then attempts the same job on a 20-year-old door with rusted hardware and a different spring configuration. The tutorial isn’t wrong. It’s just not your door.
There’s a rule of thumb worth keeping: video confidence gets you about 90% of the way on tasks where the failure mode is inconvenience. Lubrication, sensor alignment, weather seals, roller swaps: a good video plus basic tools is usually enough. Where video confidence gets homeowners hurt is any task where the failure mode is injury. Spring work, cable work, track work, and bottom bracket work all sit in that column. A video can show you the motion, but it can’t convey the stored energy, the feel of a bound winding bar, or the warning signs that a spring is about to let go.
We’re not against homeowners knowing their doors. Far from it. The more you understand your system, the better you can describe a problem when you call. Our technicians have up to 15 years of experience, and every one of them started by learning how these systems fail. That kind of knowledge comes from doing the work, not from watching it.
If you’re unsure which column your job is in, the safest call is to describe the problem to a professional. We can tell you over the phone whether it’s a maintenance task or a repair that needs a technician. You don’t lose anything by asking.
Common Mistakes to Avoid
- Attempting a spring replacement with the wrong spring. The right spring depends on the exact weight of the door and the existing spring’s wire size. A garage-door-specific spring won’t work on a Wayne Dalton extension system, and a torsion spring sized for a lighter door won’t balance yours correctly.
- Overtightening the track bolts. Bolts that are too tight deform the track and cause the rollers to bind, which shortens the life of the rollers and the opener. Snug and aligned is the goal, not maximum torque.
- Lubricating the tracks. Tracks are meant to stay dry. Lubricant collects grit and dirt, and the rollers can start to slide instead of roll, which affects the door’s balance.
- Ignoring a door that reverses on its own. An opener that reverses without being commanded usually means the safety sensors or the force setting is off, and it’s a sign the system needs attention. Treating it as a minor annoyance lets a real problem grow.
- Assuming a door repair is covered by homeowner’s insurance without checking. Coverage varies, and a DIY repair that contributed to a loss can complicate a claim. A quick call to your insurer before you start expensive work is worth the time.
- Buying an opener without checking your door’s balance. A new opener on a door with a failing spring won’t fix the problem, and it may shorten the opener’s life. Check the door’s balance before replacing the motor.
- Forgetting the safety reversal test. Every repair or opener adjustment should end with the reversal test. If the door doesn’t reverse on contact, the job isn’t finished, and nobody should be using that door.
Avoiding these mistakes is mostly a matter of knowing what’s safe to touch and what isn’t. For the jobs on the “never” list, the right move is to skip the mistake entirely and call a professional.
When to Call a Professional
Call a professional if you’re facing spring work, cable work, track realignment, or any repair where the door has become unbalanced or stuck. Call if the door reverses unpredictably, if you hear a loud snap, or if you see a gap in a spring coil. Call if you’re replacing an opener and you’re not confident about the electrical side. Call if the door is on a rental property and you need the repair done right the first time. And call if you’re simply not sure whether the job is safe, because a short conversation with a technician is cheaper than a mistake. Durham Garage Door Service offers free estimates in Durham. Call (844) 460-7528. We answer 24/7, with fast dispatch from 7am to 7pm, Sunday through Friday. We’re closed Saturday.
Frequently Asked Questions
No. Garage door spring replacement is the single most dangerous task in the trade because of the energy stored in a wound spring. A release can cause serious injury even with the right tools. A technician has the winding bars, the training, and the brand knowledge to replace the spring safely and get the door balanced. Call (844) 460-7528 for a free estimate on spring repair in Durham.
Yes. Cleaning and aligning the photo-eye sensors at the base of the door is a low-voltage, low-risk task most homeowners can manage. Wipe the lenses, check that both indicator lights are on, and make sure the brackets point at each other. If the door still reverses, call us so we can check the force settings and the wiring.
It depends on the opener and your home’s wiring. A like-for-like replacement on a standard plug-in unit is within reach for many homeowners. The parts that trip people up are the structural mounting, the force and travel limit settings, and the final reversal test. If you’re not sure about any of those, the safer move is to have a technician install it and verify the safety tests. Call (844) 460-7528 for a scheduled installation and a written price before work begins.
It depends on your policy and the specific claim. Homeowner’s insurance typically covers accidental injury on your property, but a claim related to a DIY repair can trigger questions about whether the work was done to a reasonable standard. Check with your insurer before you take on a repair that might be covered. We’re licensed and insured and can work with your insurer when a repair relates to a claim.
In most cases, the cheapest route is a professional repair on the first try. A failed DIY attempt usually costs more than the repair would have, because it adds the original part cost and any damage from the attempt on top of the professional fix. We quote the price before any work starts, and the written estimate sets the final number. Call (844) 460-7528 to get that estimate.
Often, yes. Describe the symptom and we can tell you whether it’s a maintenance task or a repair that needs a technician. We answer 24/7. If you call outside dispatch hours, we’ll book you into the next opening, Sunday through Friday, 7am to 7pm. We’re closed Saturday.
The Bottom Line
The DIY-versus-professional question gets easier once you sort garage door jobs by consequence rather than by skill. Cleaning sensors, lubricating hinges and rollers, and replacing weather seals are safe for most homeowners. Spring work, cable work, and track realignment aren’t, no matter how many tutorials you’ve watched. The cost comparison that matters isn’t DIY versus professional. It’s professional from the start versus a failed attempt plus the professional fix, and the second option almost always costs more. When you’re not sure which side of the line your job falls on, call Durham Garage Door Service at (844) 460-7528. We work on the eight major brands, we can tell you whether a repair is worth it or whether replacement makes more sense, and the written estimate sets the price before any work begins. We answer 24/7, with fast dispatch from 7am to 7pm, Sunday through Friday.
For the repair side of the decision, see our guide to garage door repair, and if the opener is the problem, our garage door opener repair page covers the brand-specific diagnostics. If you’re weighing a full replacement, the Durham service overview explains how we handle repair, opener repair, and installation together, so you can decide with one conversation rather than three.
Written by the team at Durham Garage Door Service.
See the difference
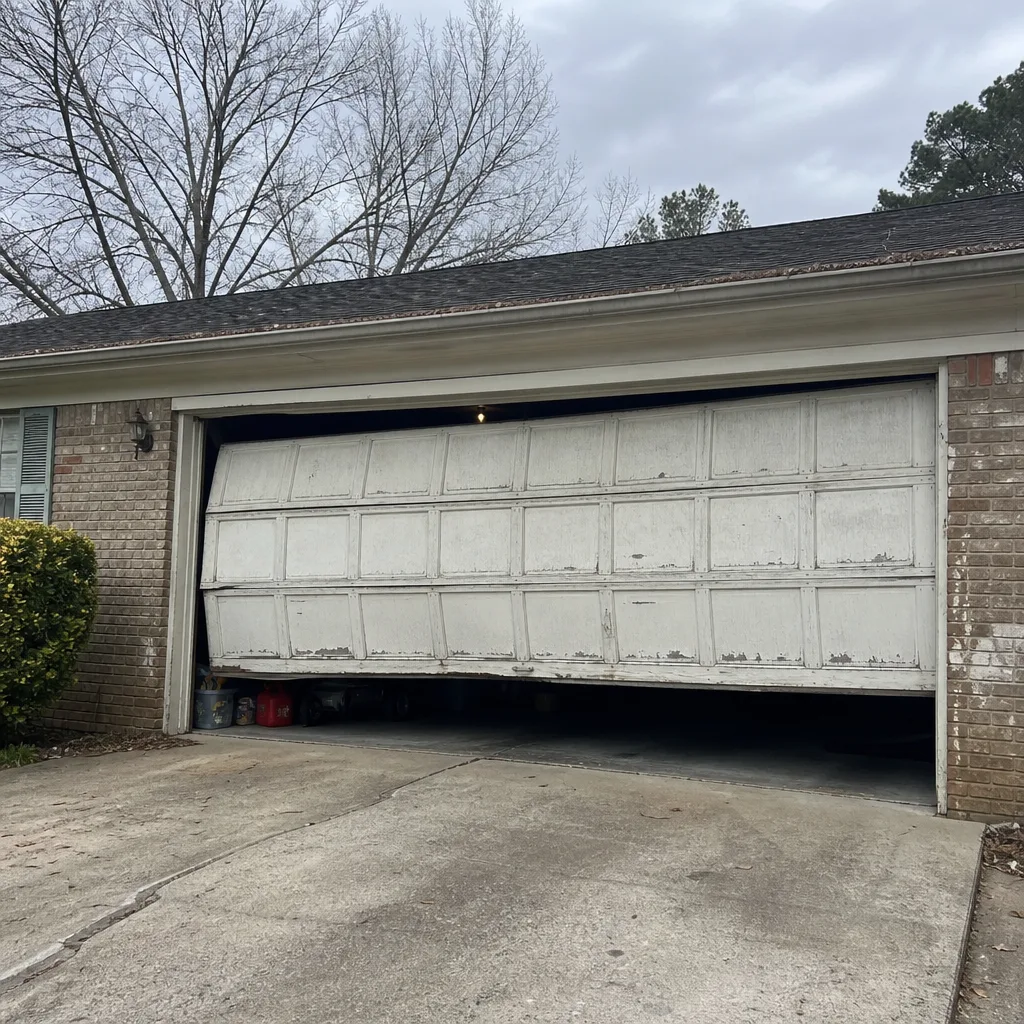 Before
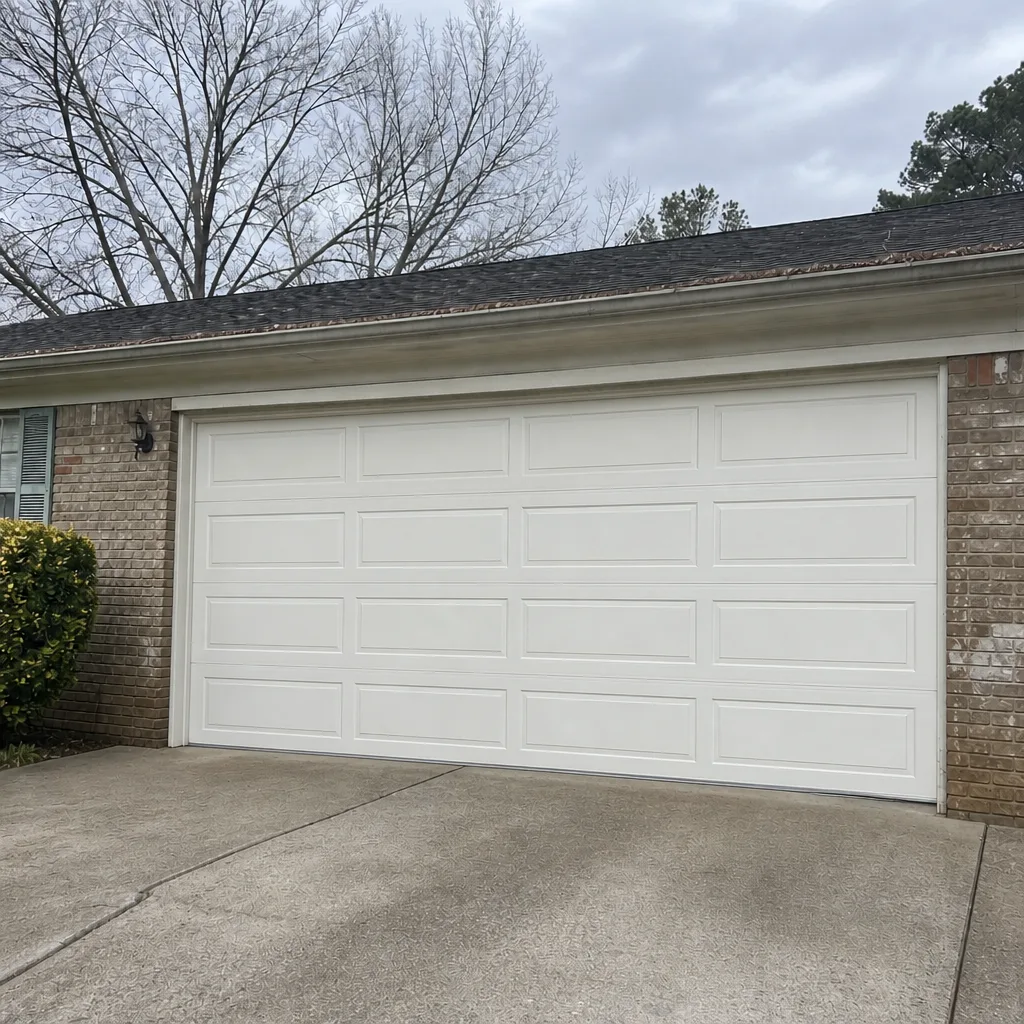 After
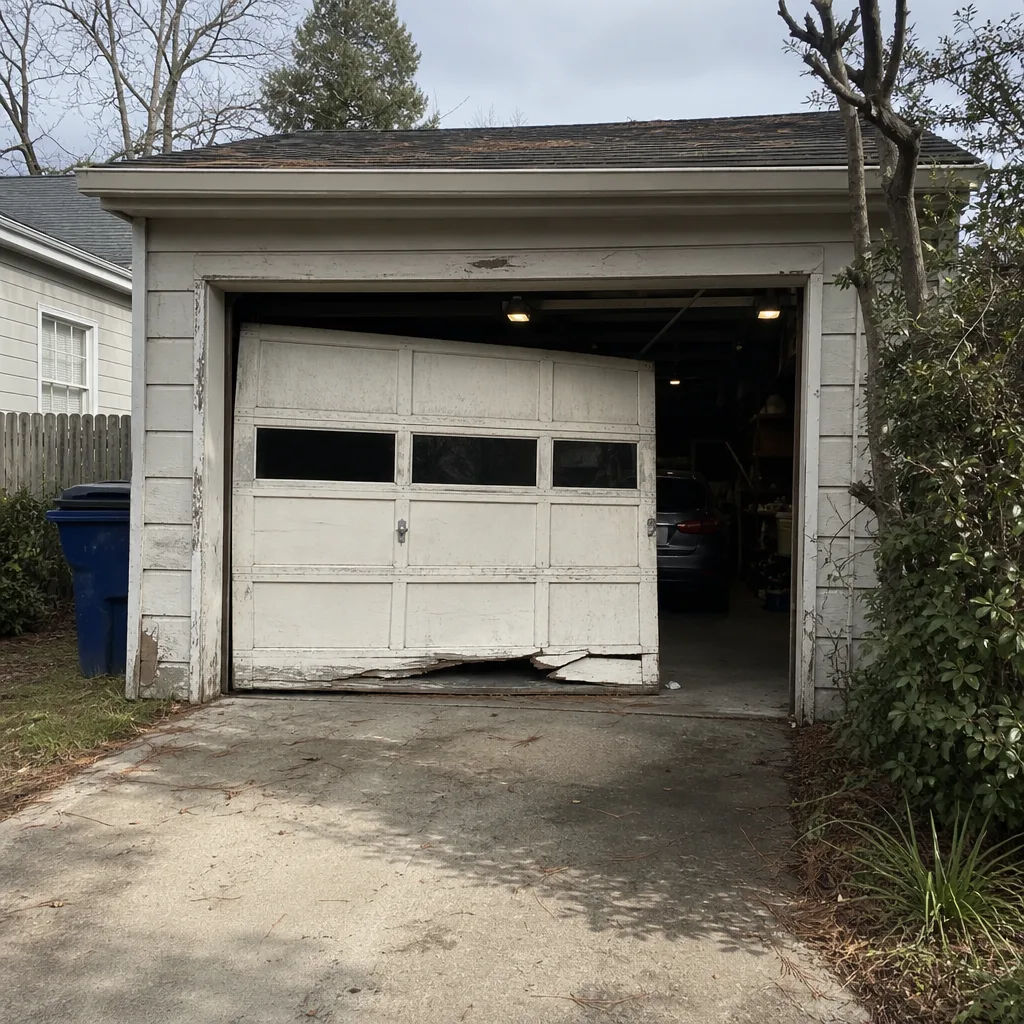 Before
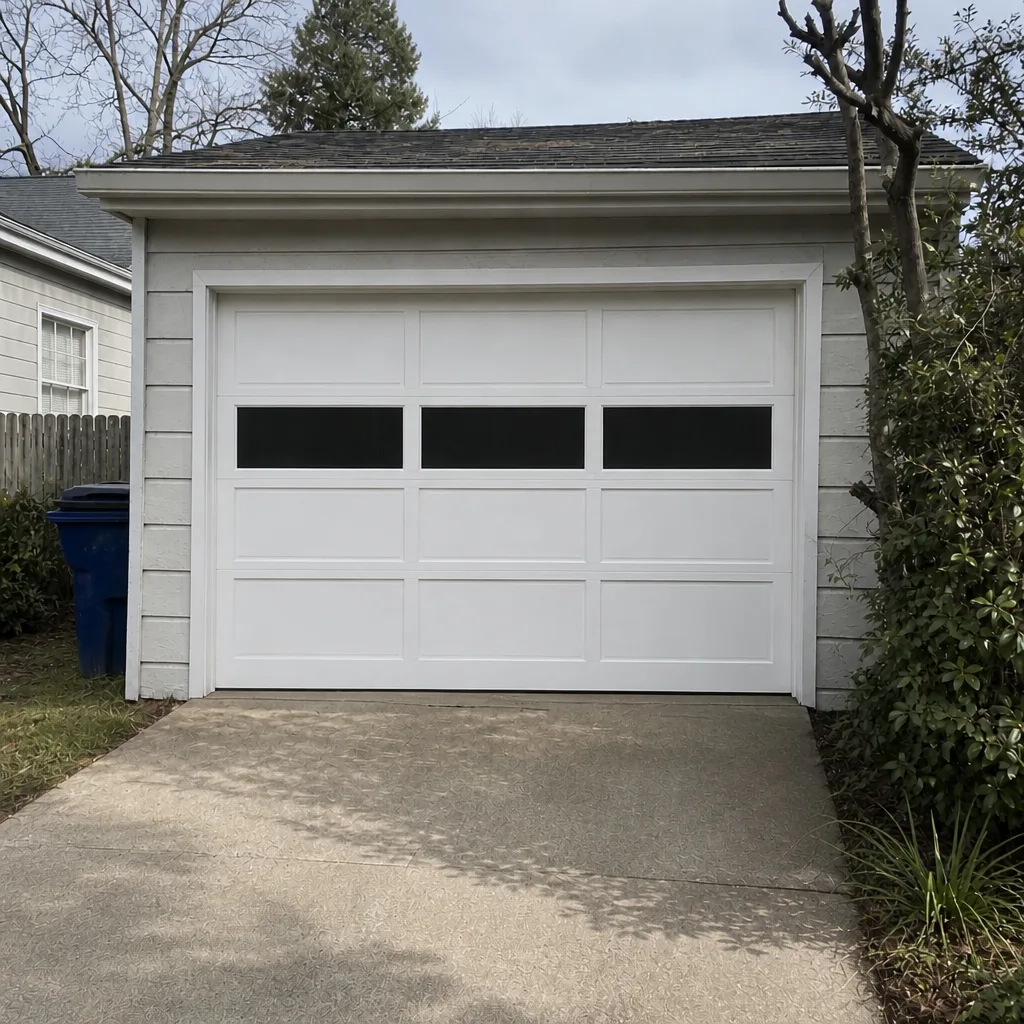 After
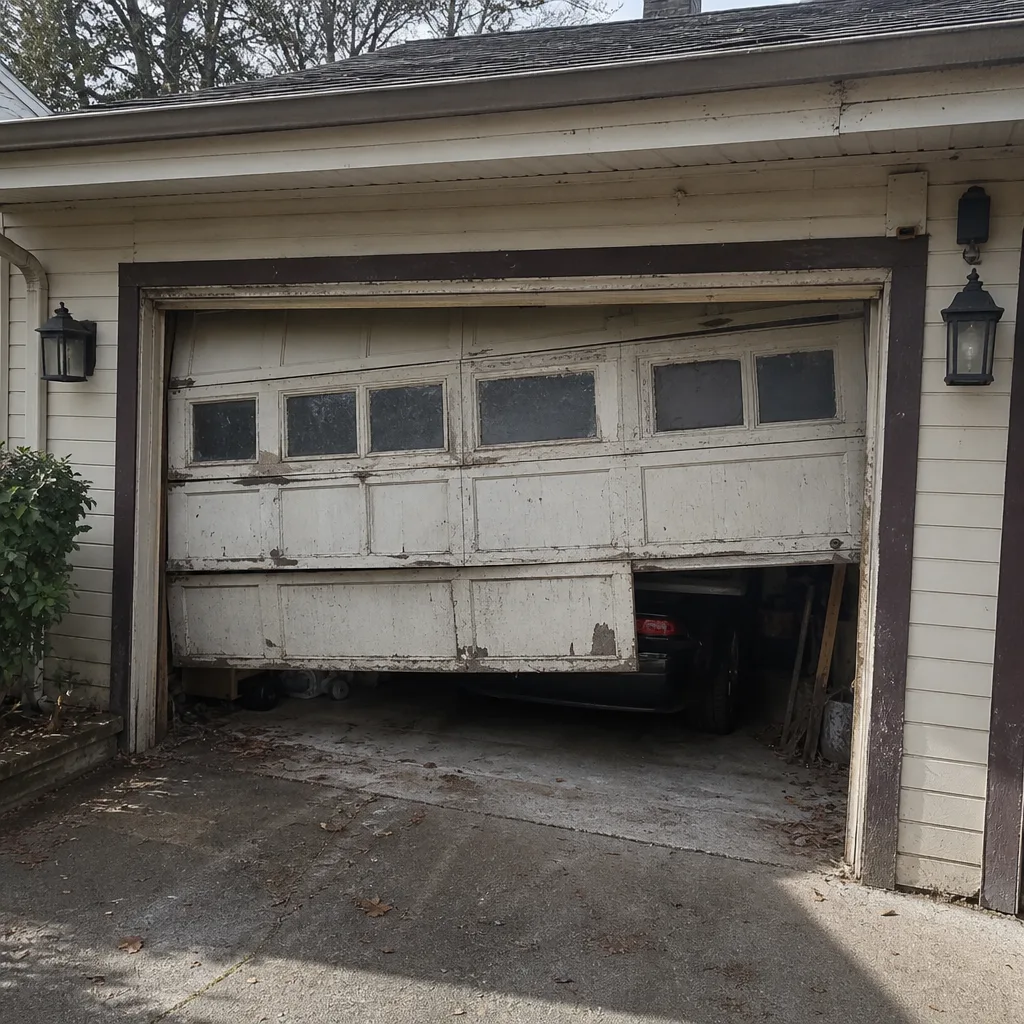 Before
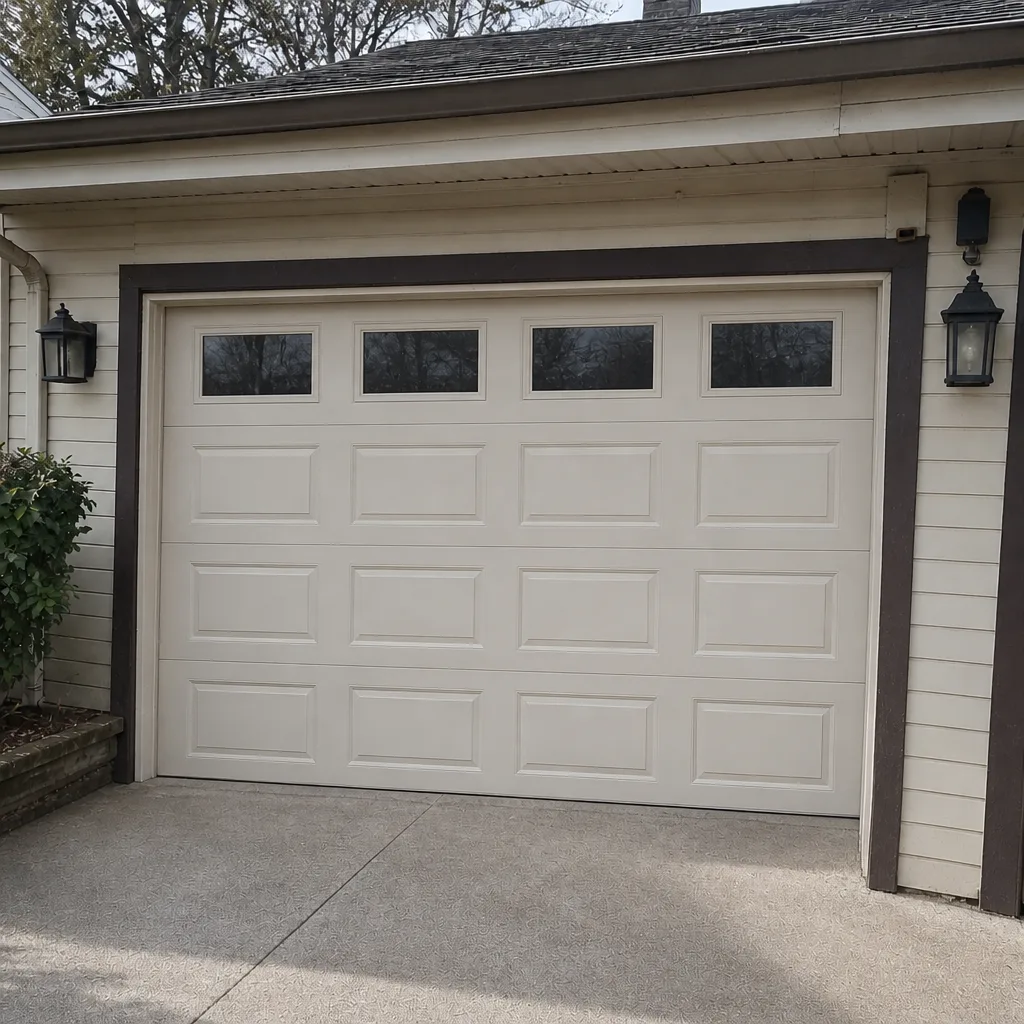 After