
Last updated November 16, 2026
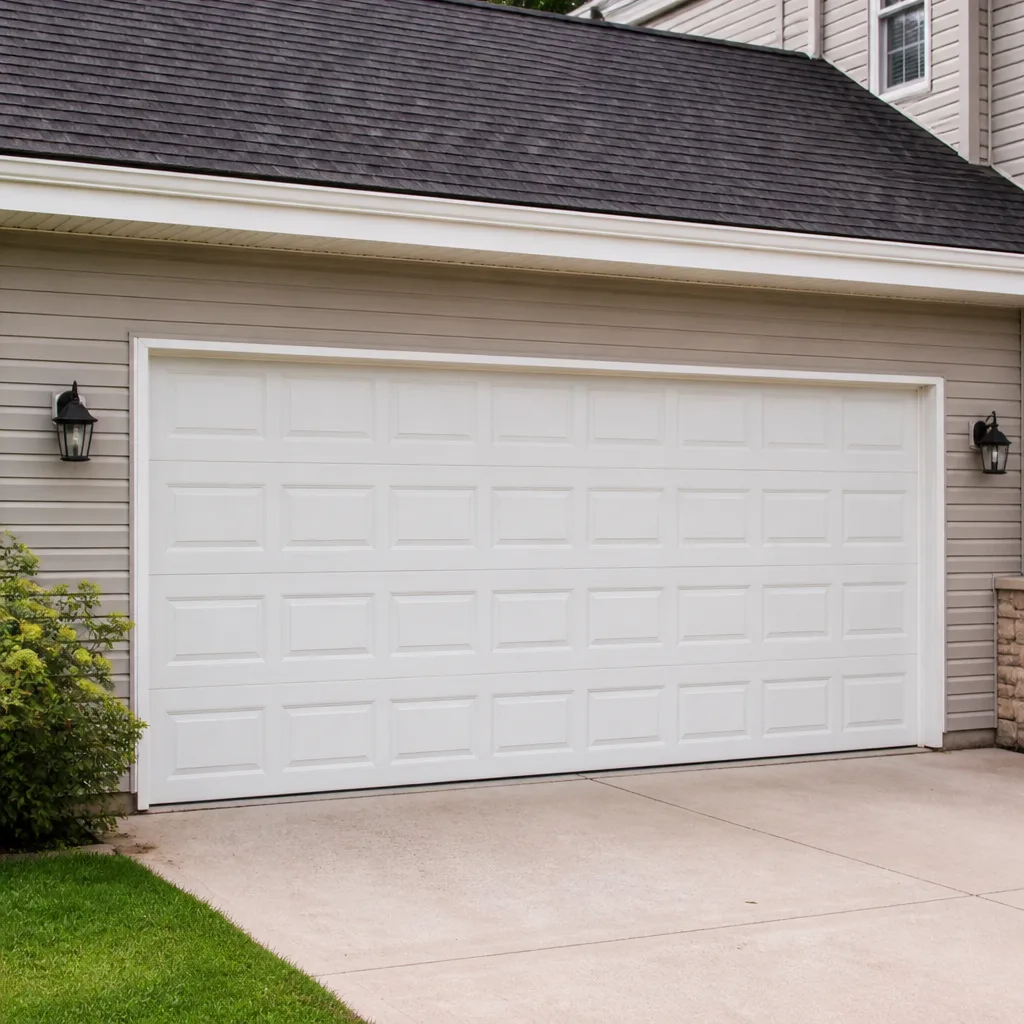 Raised-panel steel
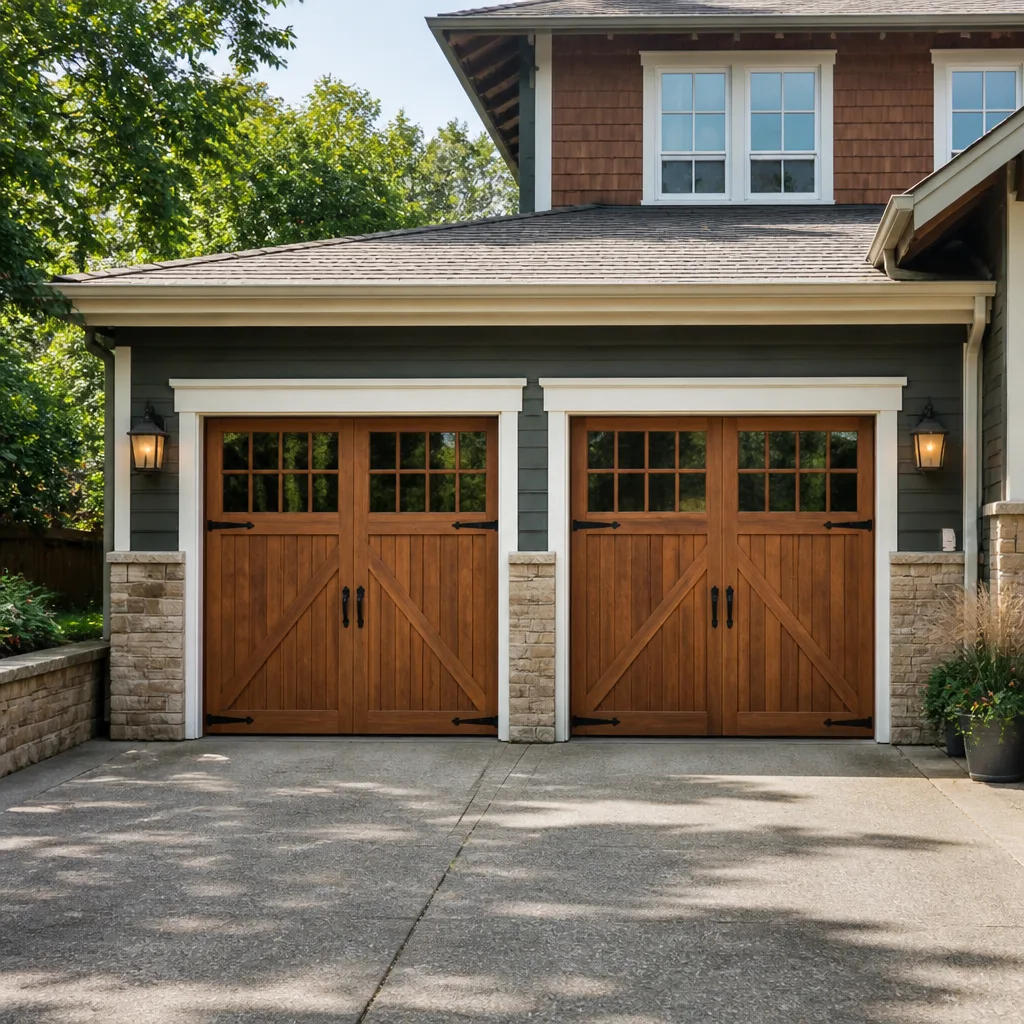 Carriage house
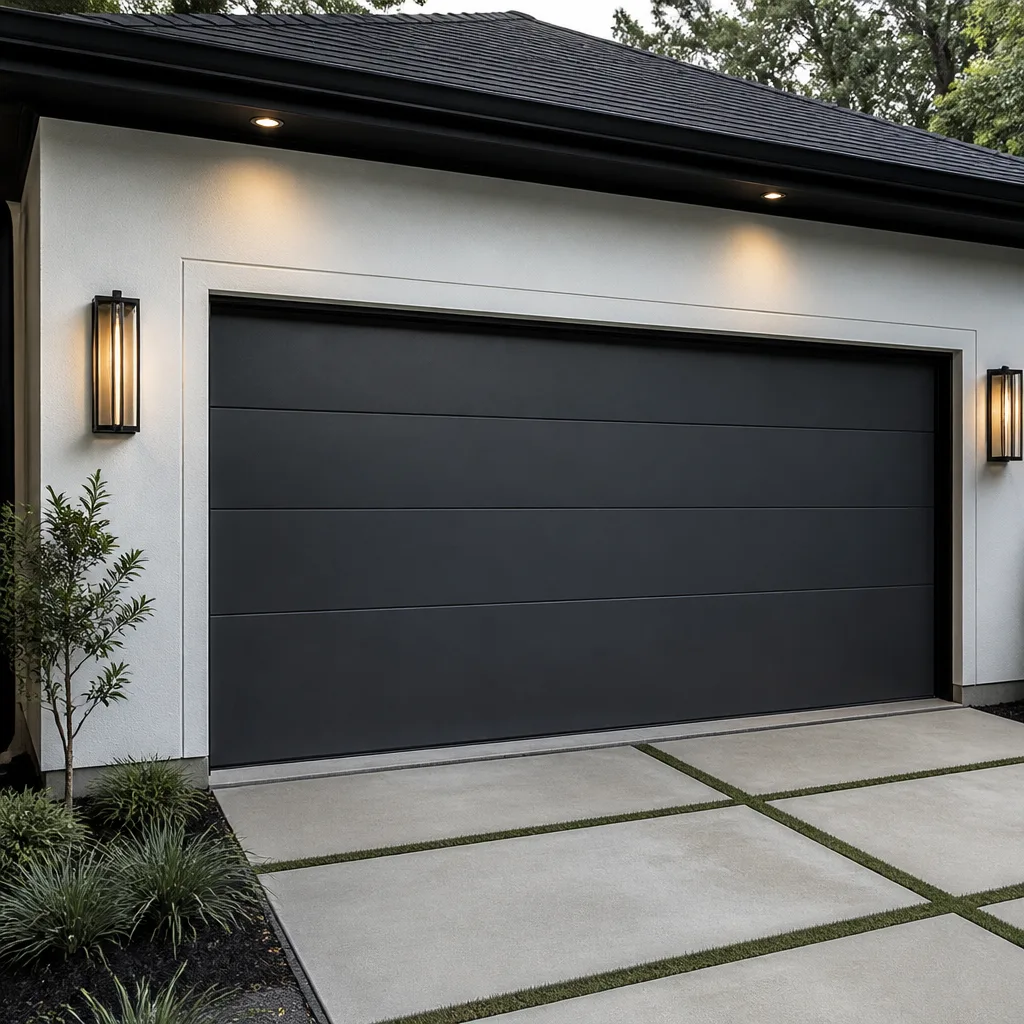 Modern flush
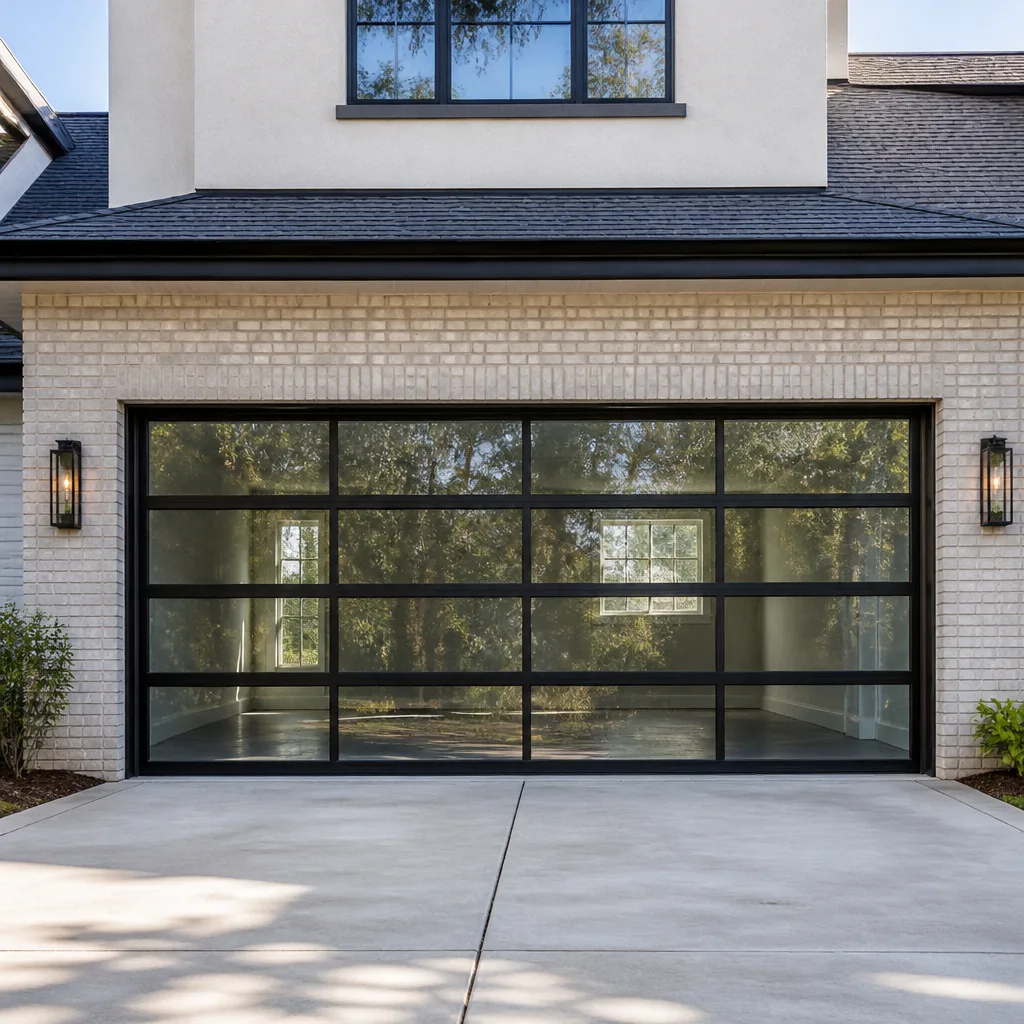 Full-view glass
 LiftMaster openers
 Chamberlain openers
Full 25-point door and opener safety check with every visit - springs, cables, rollers, tracks, and your LiftMaster or Chamberlain opener included
You get a price before we start. It does not change when the pro arrives.
Get your free estimateGarage Door Repair Maintenance Checklist for Durham Homeowners
Most maintenance checklists are written for a hypothetical average homeowner in a hypothetical average climate. This one isn’t. It’s built around the failure patterns we actually see across Durham: torsion springs that corrode faster in our humid summers, tracks that pack full of pine pollen every April, and photo-eye sensors that drift out of alignment when the clay soil under a slab shifts during a summer dry spell. The most common “my door just stopped working” call we get in Durham almost always traces back to one skipped item on a ten-minute check. Below is a month-by-month schedule for this climate, the lubricants that work and the ones that quietly make things worse, and the inspection sequence our technicians use to catch a spring before it snaps. Work through it once and you’ll spend a lot less time with a car stuck in the garage.
Quick Answer
A garage door in Durham needs a hands-on safety check every month (photo-eyes, balance, hardware), lubrication of springs, hinges and rollers every three to four months, and a full professional tune-up once a year. The two dates that matter most here are April, when pollen season ends and tracks need a real cleaning, and November, before the first hard freeze, when every moving part should be lubricated. Skip those two and you’re far more likely to be calling for repair in January.
Styles & brands we work with
- Raised-panel steel
- Carriage house
- Modern flush
- Full-view glass
- LiftMaster openers
- Chamberlain openers
Table of Contents
- Why Durham Doors Wear Differently
- The Ten-Minute Monthly Safety Check
- Month-by-Month Maintenance Calendar for Durham
- Which Lubricants to Use in a Humid Climate (and Which to Avoid)
- Testing Photo-Eye Sensors After the Ground Shifts
- Spotting a Spring That’s 60 to 90 Days From Failure
- Which Tasks Void Your Warranty and Which Keep It Valid
- Opener Care by Brand and Age
Why Durham Doors Wear Differently
Durham sits in a pocket of the Piedmont where the summers run hot and muggy and the soil under a lot of driveways is heavy clay. Both of those things shorten the life of garage door parts in ways a generic checklist never accounts for. Humidity is the big one. A torsion spring is under constant tension, and moisture in the air works its way into the coils and the end fittings. Over a few seasons that shows up as rust, and rust is where springs fail first.
The clay is the second factor. Clay expands when it’s wet and shrinks hard when it dries out, and Durham gets both extremes within the same year. When the ground under a drive slab or a garage floor moves, the slab can tilt slightly, and anything bolted to it – the tracks, the photo-eye brackets, the opener’s rail mounts – goes with it. That’s why a door that worked perfectly in May can trip its safety sensor in August without anyone touching it.
Then there’s pollen. Durham’s pine and hardwood pollen season coats everything in a fine yellow-green film, and garage door tracks are a perfect trap because they’re horizontal and greasy. Pollen sticks to old lubricant, turns into a gritty paste, and that paste grinds away at rollers and hinges every time the door moves. We work on eight major brands – LiftMaster, Chamberlain, Genie, Clopay, Amarr, Wayne Dalton, Craftsman and Raynor – and the pollen problem shows up on every one of them equally. It’s the climate, not the equipment.
None of this means a Durham door is doomed to early failure. It means the maintenance schedule here has two anchor dates instead of one, and a couple of tasks that don’t appear on a checklist written for a dry climate.
The Ten-Minute Monthly Safety Check
Once a month, walk out to the door and run through this sequence. It takes about ten minutes and catches most problems before they strand you. Do it with the door closed and the opener unplugged for the balance test.
- Look at the springs. Stand to the side – never directly under the springs – and check for rust, gaps in the coils, or a visible bend. Any of those means stop and call.
- Test the balance. Disconnect the opener with the release handle, lift the door halfway by hand, and let go. A balanced door stays put. One that drops or rises on its own has a spring or cable problem.
- Check the reversing test. With the opener reconnected, lay a piece of wood flat on the floor in the door’s path and close the door. It should reverse on contact. If it doesn’t, stop using the opener until it’s fixed.
- Test the photo-eye sensors. With the door open, pass a hand or a broom across the beam between the two sensors. The door should not close, and the opener’s light should blink.
- Wiggle the hardware. Grab each hinge and roller bracket and check for looseness. Tighten bolts that move, but don’t overtighten into a wood door panel.
- Listen. Run the door up and down once and pay attention to grinding, squealing or a bang at either end of travel. New noises are the earliest warning you’ll get.
If any of these fail, that’s your answer for the month. A door that fails the balance test or the reversing test isn’t a “watch it and see” situation, and it’s the point where a call to a repair technician saves you a bigger bill later.
Month-by-Month Maintenance Calendar for Durham
This is the schedule we’d hand a Durham homeowner if we could only give them one page. It follows the local seasons rather than the calendar year, because that’s how the wear actually happens.
January through February: Cold-Snap Checks
Durham’s coldest mornings put stress on springs and on the opener’s gear and logic board. Do a quick visual on the springs and listen for a sluggish start from the opener. If the door feels heavy or the opener strains, the springs are losing tension. Cold makes metal brittle, so this is the season when a weakened spring finally goes.
March: Pre-Pollen Prep
Before the yellow dust arrives, wipe down the tracks with a dry cloth and remove any old grease. A clean track has nothing for pollen to stick to. Check the weather seal along the bottom of the door too – a cracked seal lets pollen and pests in and is cheap to replace before the season starts.
April: Post-Pollen Track Cleaning (the big one)
Once the pollen settles, clean the tracks properly. Use a damp cloth or a mild detergent and water, then dry them completely. Don’t spray lubricant into a dirty track; you’ll just make paste. This single task prevents more roller and hinge wear in Durham than any other item on the list.
May through June: Hardware and Roller Inspection
With the door cycling more in warm weather, check every hinge and roller for wear. Nylon rollers last longer than steel in humidity and run quieter. Tighten loose bolts and look at the cables for fraying – a frayed cable is a stop-and-call situation, not a maintenance item.
July through August: Sensor and Slab Watch
This is when the clay dries, shrinks, and shifts. Re-test the photo-eyes monthly during this stretch and check that the brackets haven’t tilted. If the door closes partway and reverses for no obvious reason, the sensor alignment is the first thing to check. Full detail is in the sensor section below.
September through October: Pre-Winter Tune
Clean the tracks again after the summer, check the weather seal, and test the opener’s force settings. This is the window to fix small issues before the cold makes them bigger.
November: Pre-Ice-Storm Lubrication
Before the first hard freeze, lubricate the springs, hinges, rollers and the opener’s rail with a proper garage door lubricant. A well-lubricated door runs with less strain on the opener and less stress on the springs through the cold months. This is the second anchor date on the Durham calendar, and it’s the one most homeowners skip.
December: Final Inspection
Run the full monthly safety check, and schedule a professional tune-up if you haven’t had one this year. A technician can spot a spring that’s close to failing in a way that a visual check from the ground can’t.
Which Lubricants to Use in a Humid Climate (and Which to Avoid)
Lubrication is the task most likely to be done wrong, and in Durham’s humidity the wrong product does real damage. Here’s the short version: use a purpose-made garage door lubricant, and keep WD-40 away from your torsion springs.
What to use where
- Torsion springs and extension springs: a lithium grease or a silicone-based garage door lubricant. These stay put in heat and don’t attract dust the way thin oils do. A light coat on the coils is enough.
- Hinges and roller bearings: the same lithium or silicone lubricant, applied sparingly. Wipe off the excess so pollen doesn’t stick.
- Opener rail and chain (or belt): use the lubricant the opener manufacturer specifies – Chamberlain and Genie both publish guidance for their own units – because a chain and a belt want different treatment.
- Tracks: none. Tracks should be clean and dry. Lubricant in a track collects grit and grinds your rollers.
- Weather seal: a silicone spray keeps the rubber supple and prevents cracking.
What to avoid in a humid climate
WD-40 is the classic mistake. It’s a water-displacing solvent, not a long-term lubricant, and on a torsion spring it strips whatever protective coating is there and evaporates within days. In Durham’s humidity that leaves bare metal exposed to moisture, and bare metal rusts faster than spring steel that was never touched. The same goes for household oils and cooking spray. They attract dust, gum up in the heat, and turn into the gritty paste that eats rollers.
One rule of thumb: if you’re not sure a product belongs on a garage door, don’t use it. Our technicians match the lubricant to the component and the brand, and it’s a five-minute conversation if you’d rather get it right the first time.
Testing Photo-Eye Sensors After the Ground Shifts
The photo-eye safety sensors are the two small lenses near the floor on either side of the door. They shoot an invisible beam across the opening, and if anything breaks the beam the door won’t close. They exist to stop the door on a child, a pet or a car, and they’re the single most common cause of a door that “just stops” for no clear reason.
In Durham, the classic scenario is a door that worked all spring and starts misbehaving in late summer. The clay under the drive shrinks as it dries, the slab shifts a fraction of an inch, and one sensor bracket tilts just enough to break the beam. Nobody touched the door, so it feels mysterious. It isn’t.
How to test the alignment
- Look at both sensors. Each should have a small indicator light, and on most units the sending sensor’s light is steady while the receiving sensor’s light tells you if the beam is being seen.
- Check that both lenses point directly at each other and sit at the same height. Use a level or just eyeball it – a tilt of a few degrees is enough to break the beam.
- Wipe the lenses with a dry cloth. Pollen and dust on the lens mimic a misalignment.
- Pass a hand across the beam and confirm the door refuses to close and the opener’s light blinks.
- If the door still won’t close, check for anything hanging in the beam path – a cobweb, a stored item, a sagging wire.
If the bracket itself has moved with the slab, loosen it, realign it, and retighten. Don’t force a bent bracket back into shape; replace it. And if the door continues to reverse after you’ve aligned everything and cleaned the lenses, the problem may be in the opener’s wiring or logic board rather than the sensors – that’s a job for garage door opener repair, not a homeowner with a screwdriver.
Spotting a Spring That’s 60 to 90 Days From Failure
A torsion spring doesn’t fail at random. It gives warning signs for weeks or months before it snaps, and a trained eye can often tell a spring is within 60 to 90 days of failure from a walk-around inspection. Here’s the sequence our technicians run, and what you can look for yourself from a safe distance.
- Rust at the coils and end fittings. This is the number one sign in Durham. Rust concentrates stress, and a spring with visible corrosion at the ends is on borrowed time.
- Gaps or a visible bend in the coils. A spring should be a continuous, even coil. A gap or a kink is a structural warning.
- A door that’s gotten heavy. If lifting the door by hand (with the opener released) now takes noticeably more effort than it did a year ago, the spring has lost tension.
- The opener working harder. A strained opener, a slow start, or a door that doesn’t quite reach the top of its travel all point to a spring losing force.
- Noise at the ends of travel. A sharp bang at the top or bottom of the cycle can mean the spring is binding.
Two things we want to be clear about. First, a torsion spring is under extreme tension at all times, and adjusting or replacing one without the right tools and training can cause serious injury. Never try to wind, unwind or remove a spring yourself – that’s a job for a trained technician, full stop. Second, if you see rust, a gap or a bend, stop using the door and call. A snapped spring can send the door crashing down, and it can happen while someone is standing under it. When a spring is at that stage, garage door repair is the right call rather than waiting for it to break.
Which Tasks Void Your Warranty and Which Keep It Valid
Manufacturer warranties on doors and openers are specific about what a homeowner can do and what has to be done by a professional. Getting this wrong can void coverage on a part that was expensive to buy. The general rule is that cleaning and light lubrication are homeowner tasks, and anything involving springs, cables, tracks, or the opener’s internal components is not.
Tasks that are usually fine to do yourself
- Cleaning tracks with a damp cloth and mild detergent
- Lubricating springs, hinges and rollers with a proper garage door lubricant
- Wiping down photo-eye lenses and testing the sensors
- Visual inspection of springs, cables and hardware
- Replacing the weather seal along the bottom of the door
Tasks that can void a warranty if done incorrectly
- Adjusting or replacing torsion or extension springs
- Replacing or adjusting cables
- Moving or re-bending tracks
- Adjusting the opener’s force or travel limits beyond the manufacturer’s instructions
- Repairing or replacing the opener’s logic board, gear or motor
There’s a flip side too: some warranties require periodic professional service or proof of proper maintenance to stay valid. If you own a Clopay or Amarr door, or an opener from Chamberlain or Genie, read the warranty terms that came with it and keep a record of service. A tune-up that documents the condition of the springs and hardware can be the thing that keeps a claim alive. When in doubt, ask before you touch.
Opener Care by Brand and Age
Your opener has its own maintenance needs, and they depend on what you own. Modern Wi-Fi-enabled units from LiftMaster and Chamberlain need firmware updates and app checks; older mechanical units from Genie and Craftsman need more attention to the gear, chain and force settings. We service all of these, along with Raynor and Wayne Dalton systems, so we can tell you what your specific unit needs rather than giving you a generic answer.
Smart and Wi-Fi openers
Keep the app updated, re-check the sensor alerts it reports, and re-pair devices if the connection drops. Test the battery backup if your unit has one. Don’t ignore a “door obstructed” alert – it’s usually the photo-eyes, and it’s better to fix it on your schedule than at seven in the morning with the car inside.
Older mechanical openers
Older Genie and Craftsman units are workhorses, but the chain, gear and force settings need periodic attention. Listen for a grinding or ratcheting sound; that’s often a worn gear, which is repairable. Keep the rail lubricated per the manufacturer’s guidance, and have the force settings checked annually – a unit that’s forcing a heavy door is straining itself and the springs.
When to repair and when to replace
This is where having a company that both repairs and installs matters. We can tell you honestly whether a repair is worth it or whether a new opener or door is the smarter investment. If your opener is a legacy unit with a failing logic board and no replacement parts available, replacement may be the practical answer. If it’s a modern unit with a worn gear, a repair usually makes more sense. Either way, you get a written estimate before any work starts, and the price you agree to is the price on the invoice. For a full picture of what we cover across Durham, including installation and replacement, we’re glad to walk you through it.
Common Mistakes to Avoid
- Spraying WD-40 on the springs. It strips the protective coating and evaporates, leaving bare metal to rust in Durham’s humidity. Use a lithium or silicone garage door lubricant instead.
- Lubricating the tracks. Tracks should be clean and dry. Lubricant turns pollen and grit into an abrasive paste that wears out your rollers.
- Skipping the April pollen cleaning. It’s the single most important task on the Durham calendar. A dirty track in May means worn rollers by August.
- Ignoring a sensor that trips after a dry spell. A door that reverses for no reason in July or August is usually a misaligned photo-eye, and a bent bracket is a five-minute fix if you catch it early.
- Forcing a heavy door with the opener. If the door feels heavy, the springs are the problem. Letting the opener force it wears out the gear and puts more load on a spring that’s already failing.
- Attempting to adjust or replace a torsion spring. The stored energy in a torsion spring can injure or kill someone who doesn’t know what they’re doing. Leave it to a trained technician.
- Assuming a “one-size” tune-up is enough. Different brands and opener generations need different care. A technician who knows your system will catch what a generic checklist misses.
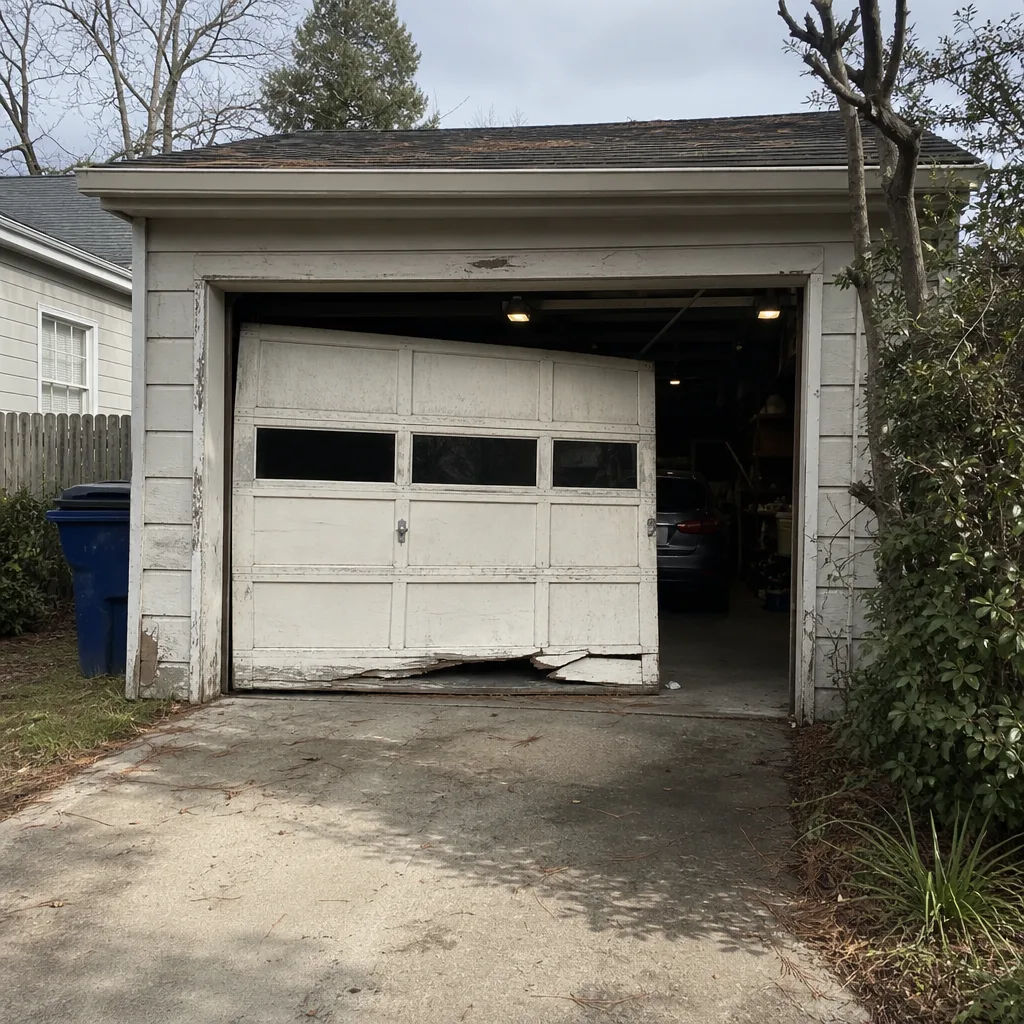
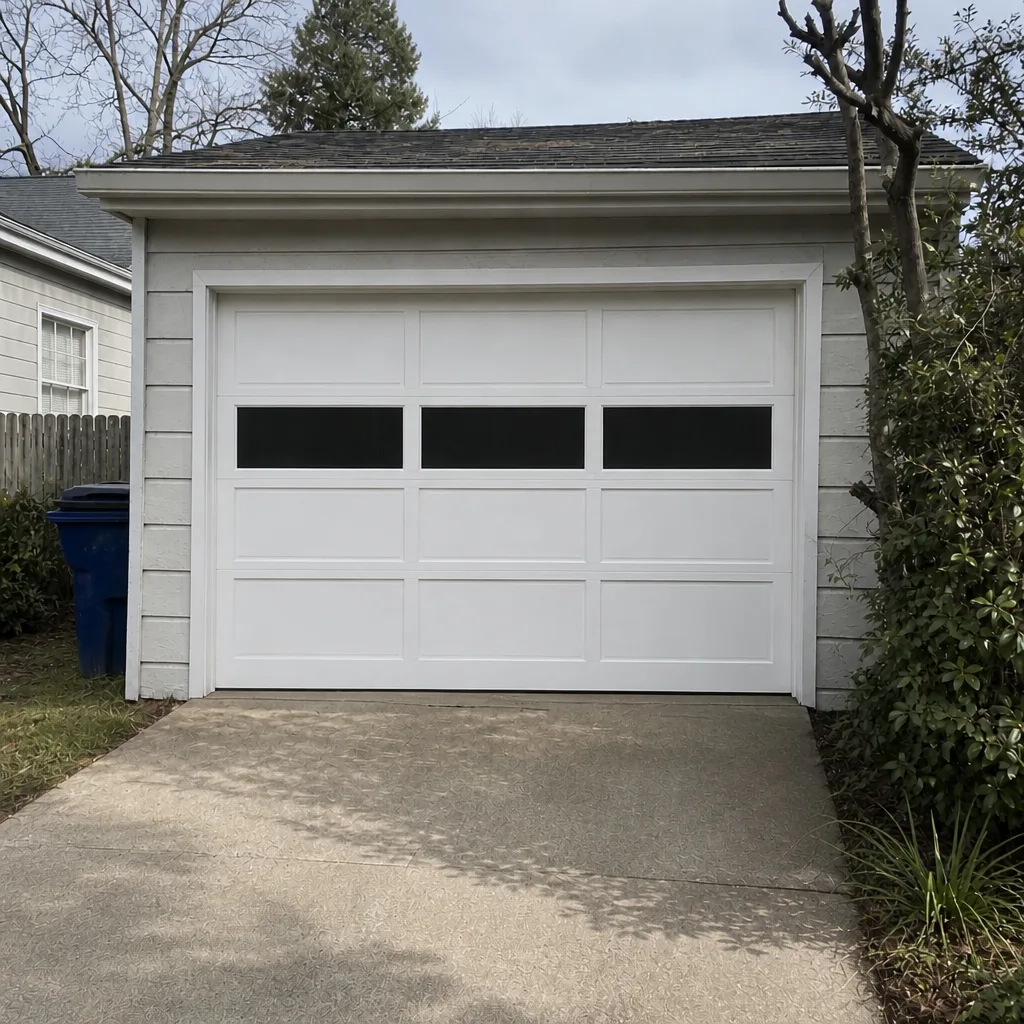
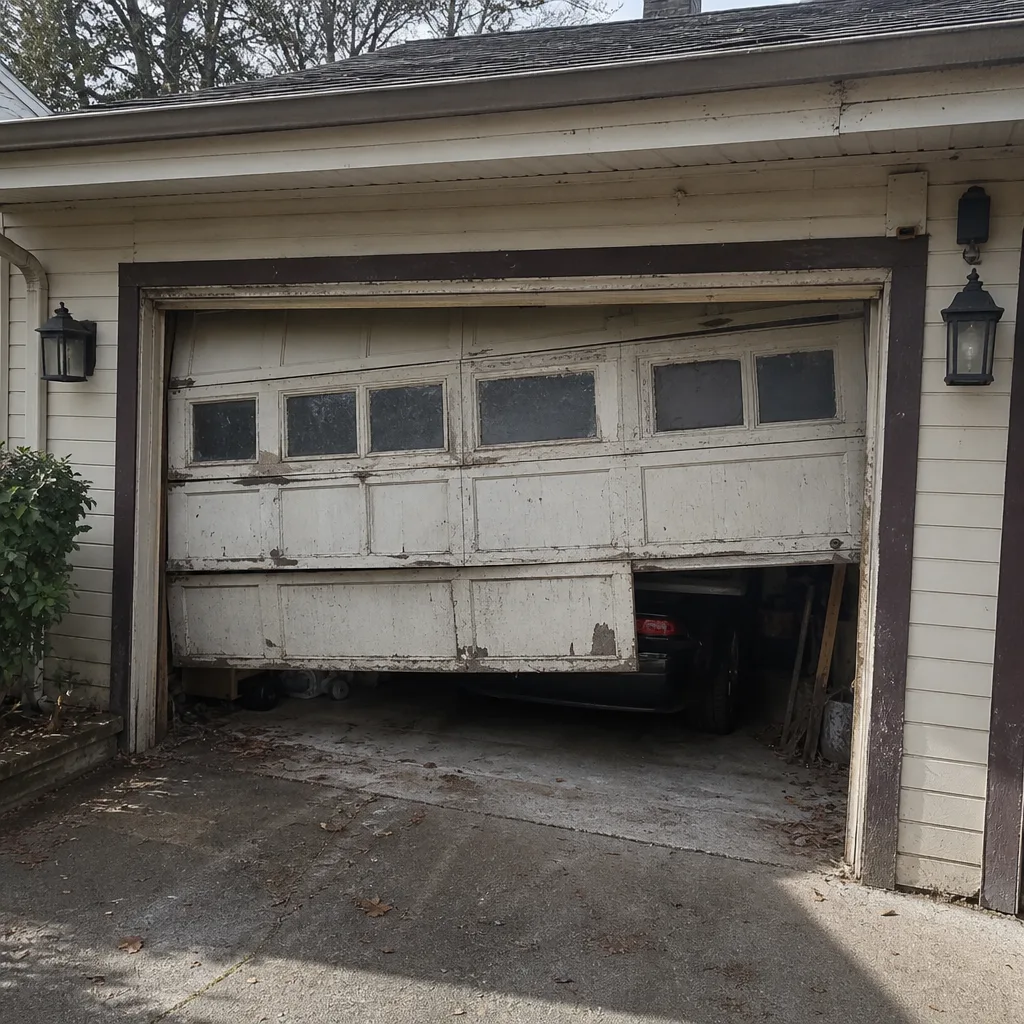
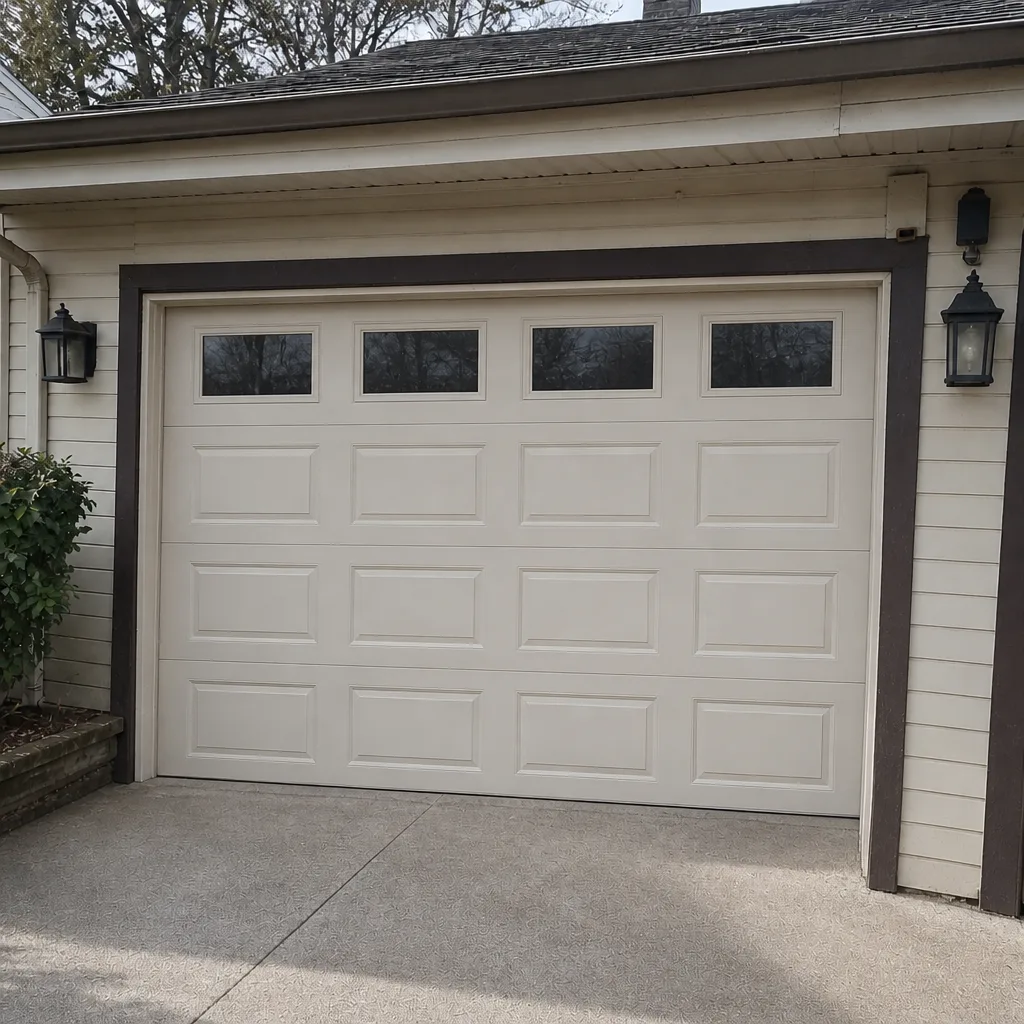
See the difference
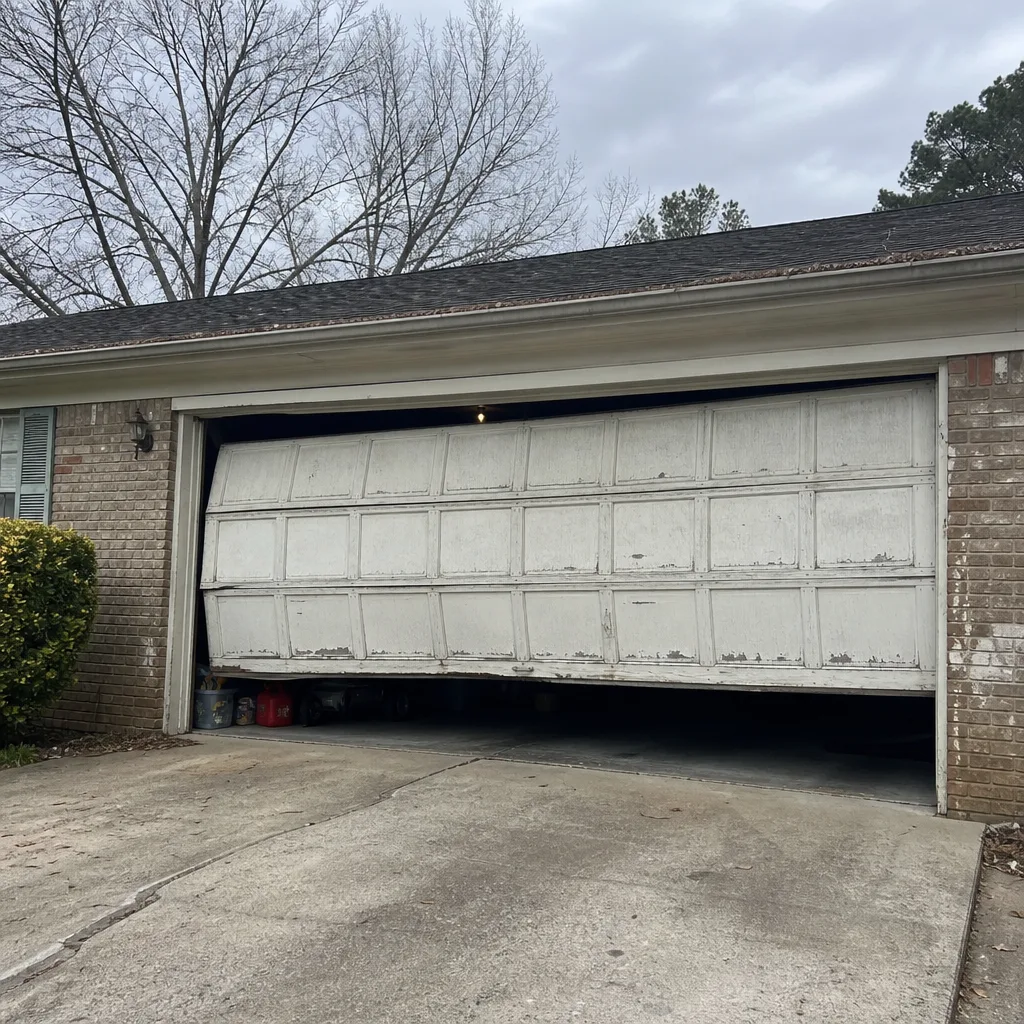 Before
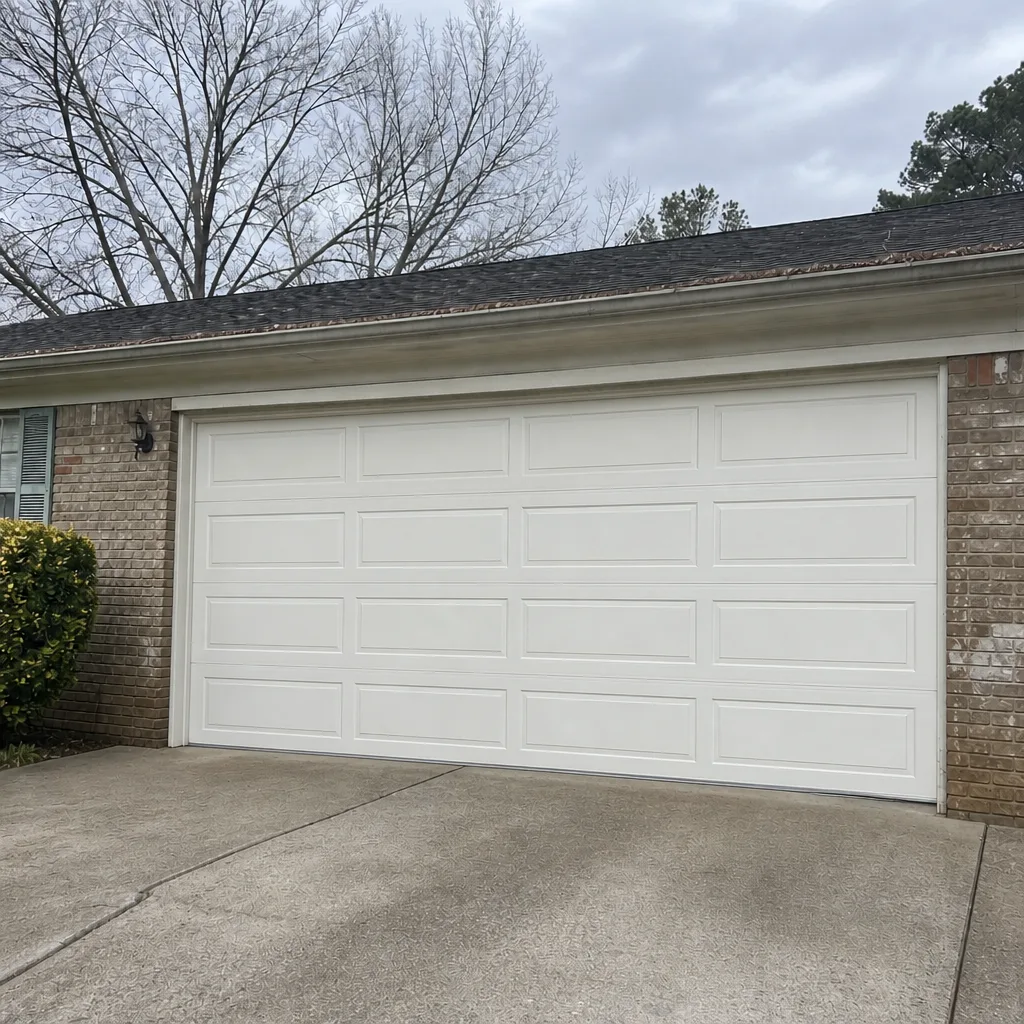 After
 Before
 After
 Before
 After
When to Call a Professional
Some maintenance is a homeowner’s job; some of it isn’t. Call a professional if the door fails the balance test, if the reversing test doesn’t work, if you see rust, gaps or a bend in a spring, if a cable looks frayed, if the door is off its track, or if the opener strains or makes new noises. In Durham, the ground shifting under a slab can put a door off track, and that doesn’t fix itself. Our technicians have up to 15 years of experience and are certified to work on eight major brands, so they diagnose your specific system rather than guessing.
Durham Garage Door Service offers free estimates in Durham – call (844) 460-7528. We answer 24/7. Fast dispatch from 7am to 7pm, Sunday through Friday.
Frequently Asked Questions
Every three to four months is the right rhythm here, with two dates that matter most: a full lubrication before the first hard freeze in November and another as the weather warms. In between, a light touch on the springs, hinges and rollers keeps pollen from turning old lubricant into grit. If you hear squealing or grinding, don’t wait for the next scheduled date. Call (844) 460-7528 for a free estimate.
It’s almost always the photo-eye sensors. Heavy rain saturates the clay, the slab or bracket shifts slightly, and the beam between the two sensors breaks. Wipe the lenses, check that both point at each other, and re-test. If it still reverses, that’s opener or wiring territory – call (844) 460-7528 and we’ll take a look.
No. WD-40 is a water-displacing solvent, not a long-term lubricant, and on a torsion spring it strips the protective coating and evaporates quickly. In Durham’s humidity, that leaves bare metal to rust, which is where spring failure starts. Use a lithium or silicone garage door lubricant instead. If you’re not sure what to use, call (844) 460-7528 for a free estimate.
Look for rust at the coils and end fittings, gaps or a visible bend in the coils, and a door that has gotten noticeably heavier to lift by hand. Any of those means the spring is close to failing. Stop using the door and call – a torsion spring is under extreme tension and shouldn’t be touched without training. Call (844) 460-7528 for a free estimate.
Often, yes. Many manufacturers require proper maintenance and record-keeping to honor a claim, and some specify that springs, cables and opener internals be serviced by a professional. DIY work on those parts can void coverage. Keep your receipts and service records, and ask before you touch anything you’re unsure about. Call (844) 460-7528 for a free estimate.
Once a year is the baseline, ideally in the fall before the cold sets in. A technician can spot a spring that’s 60 to 90 days from failure in a way a visual check from the ground can’t, and can check the opener’s force settings and hardware at the same time. If your door gets heavy use or hasn’t been serviced in a while, call (844) 460-7528 for a free estimate.
The Bottom Line
A Durham garage door doesn’t need more maintenance than one anywhere else – it needs the right maintenance on the right schedule. That means a ten-minute safety check every month, a real cleaning when pollen season ends in April, a full lubrication before the first freeze in November, and a professional tune-up once a year to catch what you can’t see. Use a proper garage door lubricant, keep WD-40 away from your springs, re-test your photo-eyes after every dry spell, and never touch a torsion spring yourself. Do those things and you’ll spend a lot less time with a car stuck in the garage. When you’re ready, Durham Garage Door Service is here to help.
Call (844) 460-7528 for a free estimate. We answer 24/7. Fast dispatch from 7am to 7pm, Sunday through Friday. Our technicians have up to 15 years of experience and are certified to work on eight major brands, so they’ll diagnose your specific system rather than guess. The price is quoted and agreed before any work starts, and the written estimate sets the final price.
Written by the team at Durham Garage Door Service.